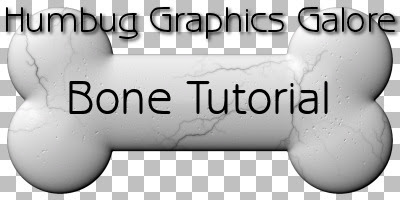
Plugins Required:
Eye Candy 5: Impact
Eye Candy 5: Textures
1. Open a new canvas 1200 x 600.
2. Set your foreground color to transparent and the color for the bone to the background color. Use the Ellipse Tool to make a circle in the upper right hand corner that is about 300 pixels in diameter.
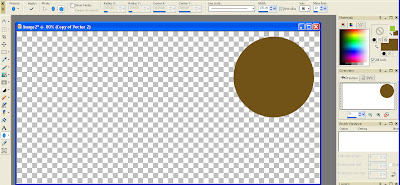 From the screenshot, you can see that the radius for my circle is 159.5, which means my circle has a diameter of 319 pixels.
3. Duplicate the layer (Layers > Duplicate). Invert the layer (Ctrl + I).
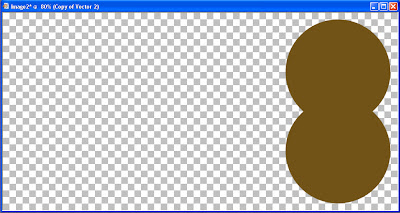
4. Duplicate the current layer (Layers > Duplicate). Mirror the layer (Ctrl + M).
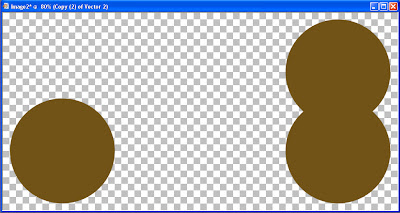
5. Duplicate the current layer (Layers > Duplicate). Invert the layer (Ctrl + I).

6. Select the Rectangle Tool. Click the center of a circle and then draw out a rectangle so that the corners of the rectangle touch the centers of the other circles.
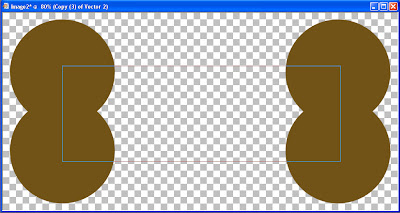
7. Merge the vector layers by merging down three times (Layers > Merge > Merge Down).
8. Use the Object Selection Tool (in PSP X and up, I've read this is the Pick Tool) to select all the vector objects.
9. Create a selection from the vector object (Ctrl + Shift + B).
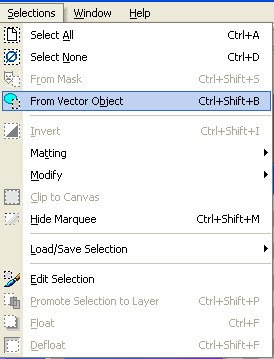
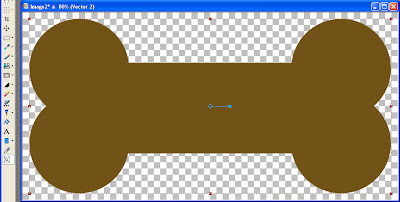
10. Hide the vector layer and click Raster 1 to select it or create a new layer. Now you have a bone-shaped selection on a raster layer which can be filled with the color, gradient or pattern of your choice. I chose to leave my selection empty and use plugins to create a vaguely realistic-looking bone.
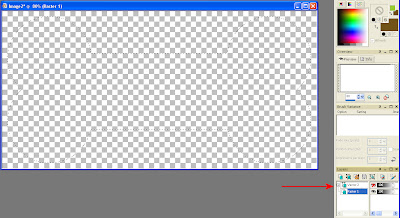
11. To create a bone-like texture, apply the Marble plugin from Eye Candy 5: Texture.
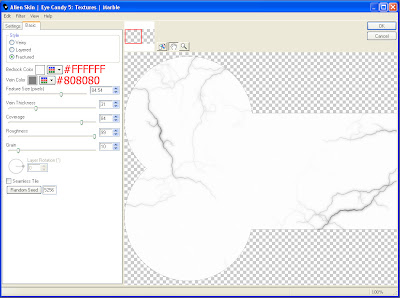 Style = Fractured
Bedrock Color = White
Vein Color = #808080
Feature Size = 84.54
Vein Thickness = 31
Coverage = 84
Roughness = 99
Grain = 10
Seamless Tile = Unchecked
Random Seed = Any Number
12. To give the bone some depth, apply the Bevel plugin from Eye Candy 5: Impact.
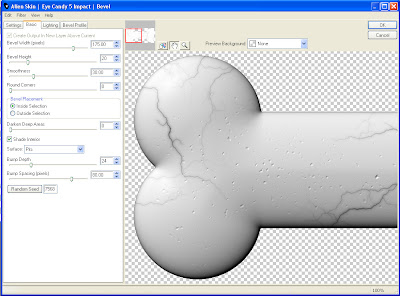 Basic
BasicBevel Width = 175.00
Bevel Height = 20
Smoothness = 30.00
Round Corners = 0
Bevel Placement = Inside Selection
Darken Deep Areas = 0
Shade Interior = Checked
Surface = Pits
Bump Depth = 24
Bump Spacing = 80.00
Random Seed = Any Number
Lighting
Direction = 126
Inclination = 53
Highlight Brightness = 86
Highlight Size = 29
Highlight Color = White
Shadow Color = Black
Bevel Profile = Button
The bone is now complete.

No comments:
Post a Comment