
1. Open a new 300 x 300 image. The resolution doesn't matter, but I chose 300 dpi.
2. Pick a nice fat font and write a letter in white. I couldn't get the font I wanted fat enough, so I added a stroke width of 10.0 to fatten it up at 200pt. I also chose to write the letter as a floating selection. I will de-float it later.

3. Go to Effects > Texture Effects > Tiles. Apply the following settings:

Tile Shape = Hexagon
Tile Angularity = 100
Tile Size = 32
Border Size = 5
Smoothness = 100
Depth = 1
Ambience = 100
Shininess = 0
Color = White
Angle = 315
Intensity = 100
Elevation = 90
If you make your letter larger than I am showing in the tutorial, the increase the tile size and the border size until you get the spacing that you want. This effect replaces the Stained Glass effect in Photoshop.
4. Select None (Ctrl+D). If you used the floating selection to write the letter, then it will now de-float. Use the Magic Wand Selection Tool and select the white.

If you use the following settings, then all the non-black areas should be selected.
Mode = Replace
Match Mode = RGB
Tolerance = 50
Sample Merged = Unchecked
Contiguous = Unchecked
Feather = 0
Anti-Alias = Checked and Outside
5. Create a New Raster Layer. Now the selection is on the new layer.
6. Contract the selection by 5. Selections > Modify > Contract > 5.

7. Remove the specks and holes so that portions of the letter do not completely disappear in the next step. If you choose to make really large letters, then I suggest skipping this step or all your stones will look like hexagons. Selections > Modify > Remove Specks and Holes.

8. Smooth the selection. Selections > Modify > Smooth.

Smoothing amount = 10
Anti-alias = checked
Preserve corners = unchecked
9. Expand the selection by 4. Selections > Modify > Expand > 4.

10. Use the Flood Fill tool and fill the selection with a stone-like pattern. I chose the marble pattern that comes with Paint Shop Pro 9 or the Paint Shop Pro 8 Resource Pack. If you don't know where the Flood Fill tool is located, go to my Quick Graphic Alpha tut, step 5.

11. Apply the Inner Bevel effect to make it look three-dimensional. Effects > 3D Effects > Inner Bevel.
 I used the following settings, but you can do anything which suits the texture you chose.
Bevel = 2
Width = 8
Smoothness = 40
Depth = 6
Ambience = 0
Shininess = 10
Color = White
Angle = 315
Intensity = 40
Elevation = 30
12. Hide or delete your original layer and you are done if you don't want to do anything else. I also added a drop shadow to make the stones stand out more.

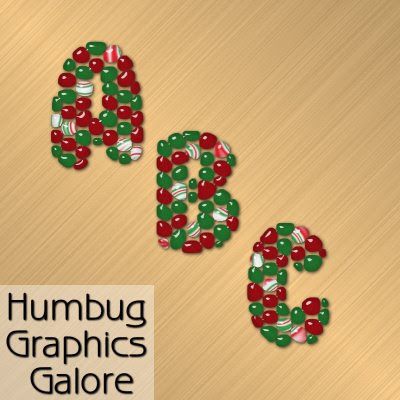
So, if you've read all the way to the end of this tutorial, then I congratulate you on your endurance. I did make an alpha using these steps. I'm not quite sure what to call it. I was trying to create hard candies, but I'm not sure I achieved the right effect. Click on the image to download the alpha.
Thank you! Your blog post will be advertised on the DigiFree Digital Scrapbooking Freebie search engine today (look for timestamp: 30 Nov [LA 09:00pm] - 01 Dec [NY 12:00am, UK 05:00am, OZ 04:00pm] ).
ReplyDeleteWhat a great tutorial, thank you for sharing :)
ReplyDeleteI love this tut do you think you could post how you did the different color effects from your candy alphas you made up there? I sure would love it if you could, But thank you for sharing all your tuts. I love them all.
ReplyDeleteThanks Billie
Billie,
ReplyDeleteI made three separate alphas for in each of the different colors as three layers on the same canvas. Then I selectively erased to get the different colors.
Spencer
Cool
ReplyDelete