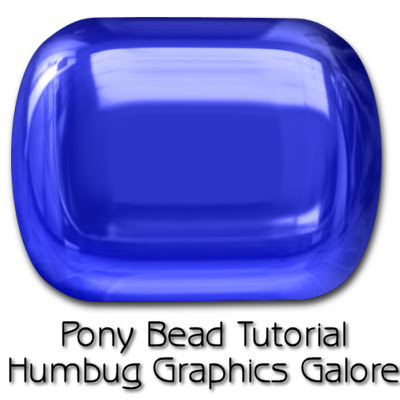
1. Open a new canvas 300 x 300.
2. Use the square preset shape tool to draw a square on the canvas.
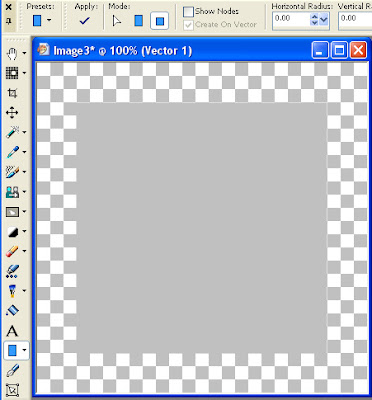
3. Convert the square to a path.
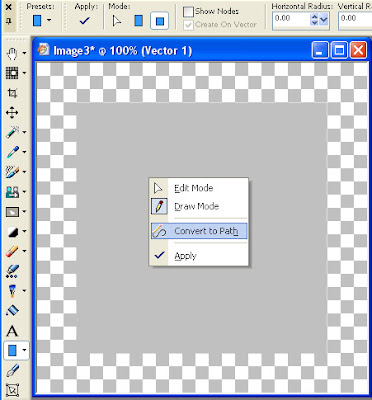
4. Go to the Pen tool and select a node. Go to Node Type and select Smooth.
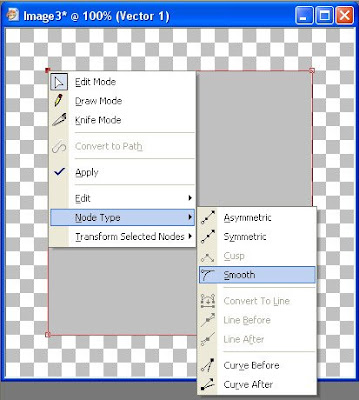
5. Next, go to Node Type and select Curve Before.
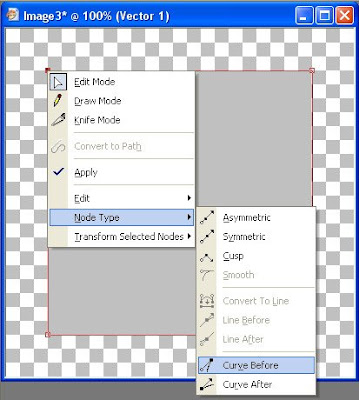
6. Finally, go to Node Type and select Curve After.
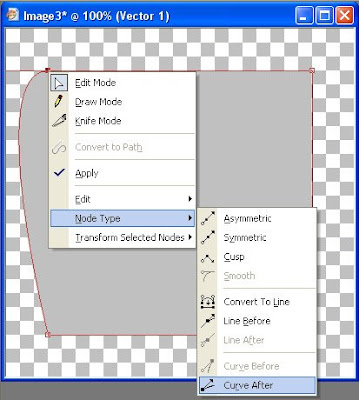
7. Do this for all 4 nodes. You will have an ugly rounded square.
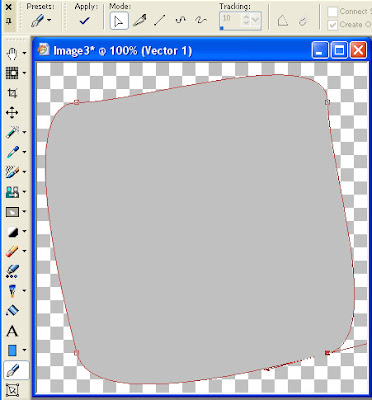
8. Use the handles on the nodes to shape the square so that it is round, fat square. Handles at 45 degree angles work well.
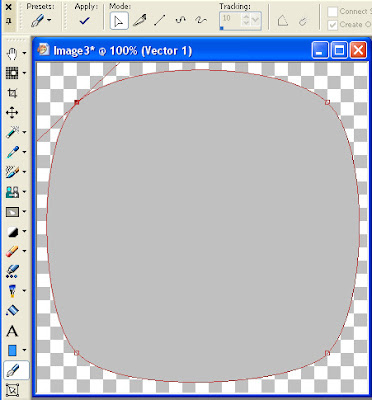
9. While holding down the Ctrl key, click on the square 4 times, once on the top left, top right, bottom left and bottom right to add four new nodes. Click to the inside of the existing nodes. The red arrows in the image point to where the new nodes should be created.
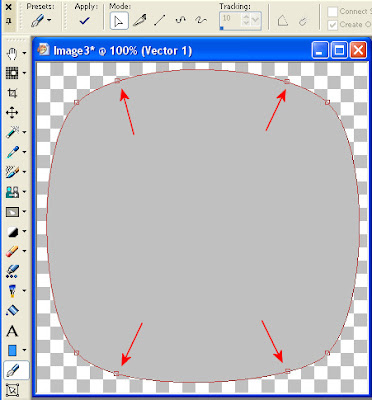
10. Right click on the vector object, go to Edit and Select None.
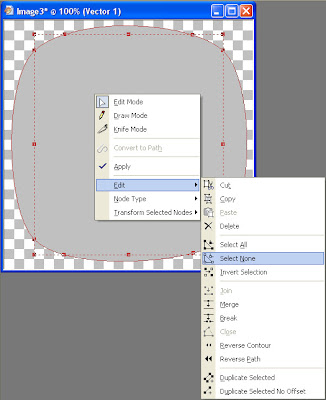
11. Click on each of the new nodes and pull the handles until they are horizontal. This creates the basic pony bead shape.
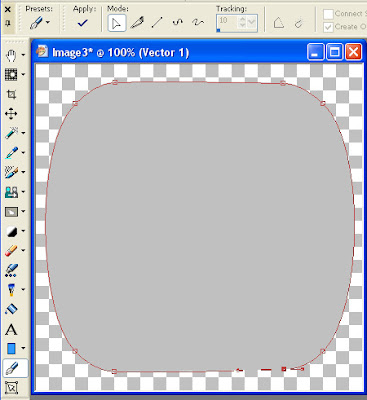
12. If you want a wider pony bead, then use the Object Selection Tool (or the Pick Tool in PSP X and up) to select the vector shape and widen it.
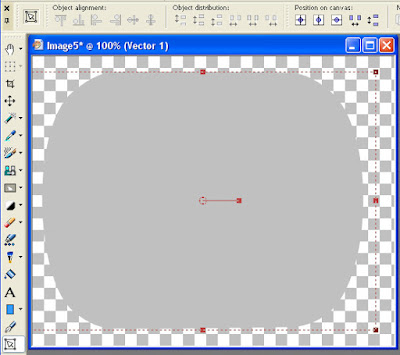
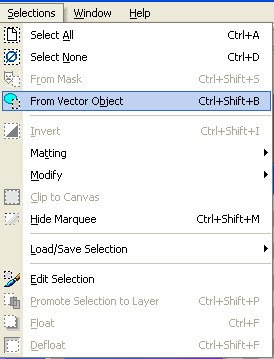
13. Create a new selection from the Vector selection (Ctrl+Shift+B).
14. Hide the vector layer by clicking on eyeball.
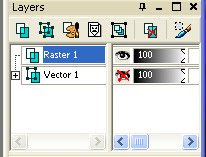
15. Create a new raster layer.
16. Apply KPT Shapeshifter. I'm sure I could figure out a simple shiny bevel that wouldn't require a plugin, but I'm too tired right now.
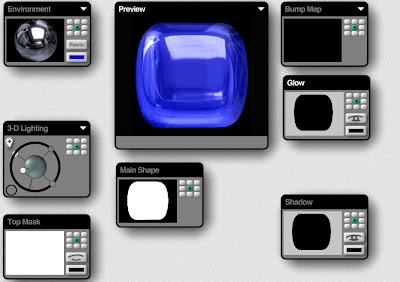
Alternate bevel:
A. Fill with color, gradient or pattern of choice.
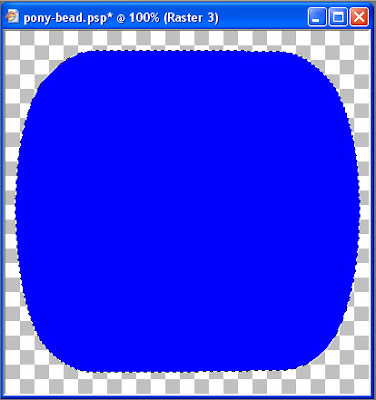
B. Create a new layer. Set the opacity to 70% and the blend mode to multiply. I named the layer highlight.
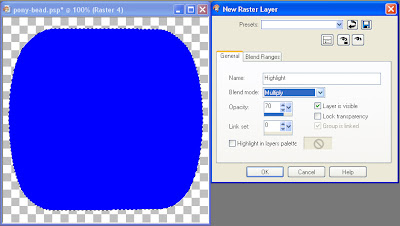
C. Set the foreground to white and the background to black and fill with a circular gradient.
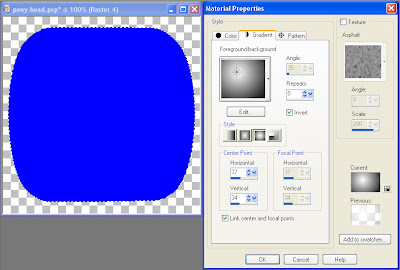
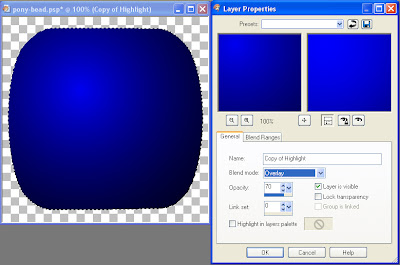
D. Duplicate the layer and change the blend mode of the new layer to overlay.
E. Create a new raster layer under the highlight layer.
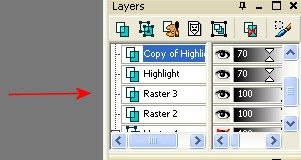
F. Merge the highlight layer onto the new layer with Layers > Merge > Merge Down.
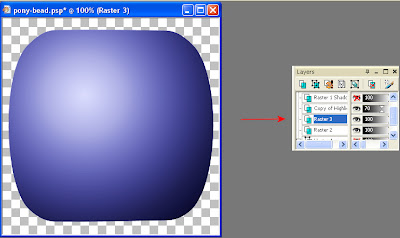
G. Change the layer blend mode to screen.
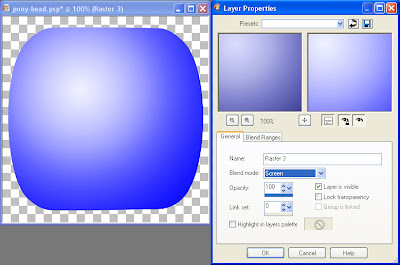
H. Create a new raster layer.
I. Apply the cutout effect to the new layer.
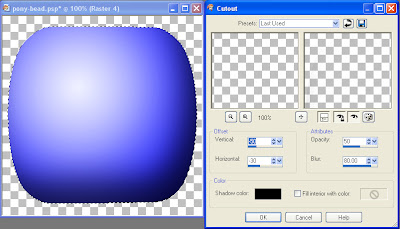 Vertical = -50
Horizontal = -30
Opacity = 50
Blur = 80.00
Shadow color = Black
17. Add a suitable drop shadow and the pony bead is done.
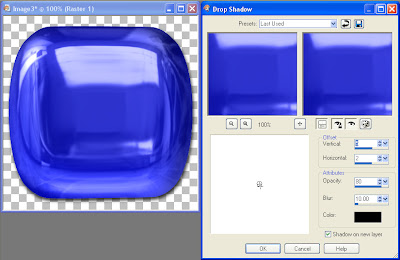 Vertical = 5
Horizontal = 2
Opacity = 80
Blur = 10.00
Color = Black
I spent the day dragging two small children around the Field Museum and hauling a heavy stroller up and down stairs due to lack of elevators at El stops. So, my ability to reconstruct how I made the pony bead is highly suspect as I'm exhausted. If I have left out a critical step, please leave a comment and I will try to correct the tutorial.
Addendum: Melonie of Scrap Stuff with PSP and PS shared her method for making pony beads which I tried unsuccessfully to duplicate in my long ramblings above. It is far simpler. I have documented the instructions here so that I don't forget them, but I did not come up with the original method. That credit belongs to Melonie.
Pony Beads, the easy way
1. Open new 300 x 300 canvas.
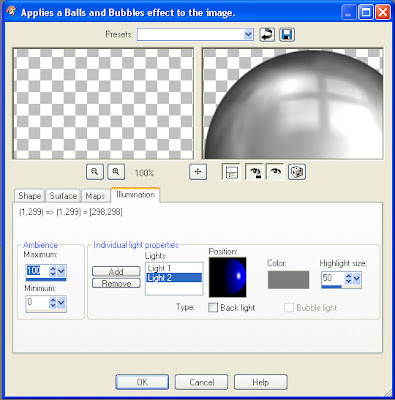
2. Create a bubble (Effects > Artistic Effects > Balls and Bubbles).
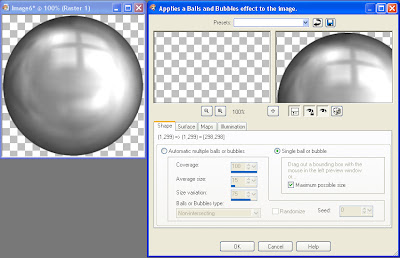
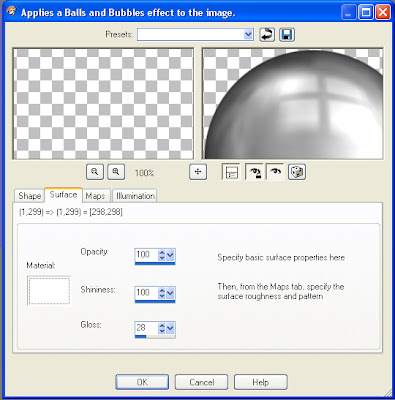
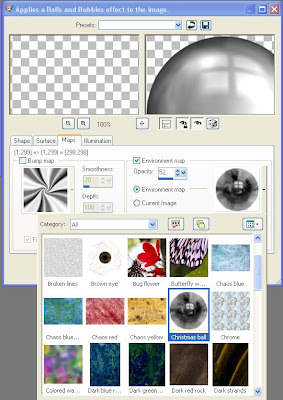
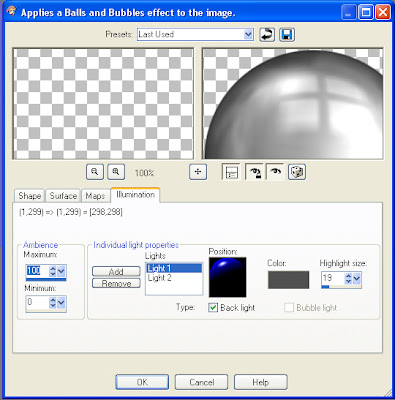
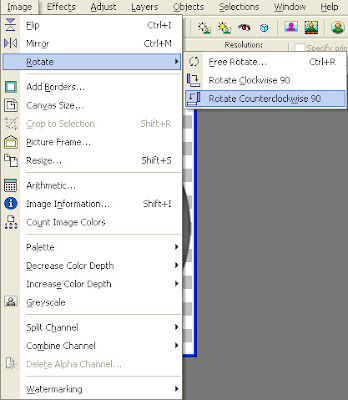
3. Move the four windows to the left by rotating the image 90 degrees counterclockwise (Image > Rotate > Rotate Counterclockwise 90).
4. Stretch the bubble into a bead shape using cylinder (Effects > Geometric Effects > Cylinder - Horizontal).
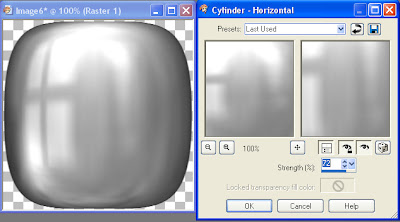 Strength = 72%
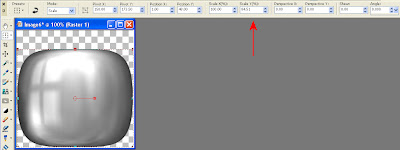
5. Use the Raster Deformation Tool (Pick Tool in PSP X and up) to narrow the bead vertically by scaling Y up to 75%.
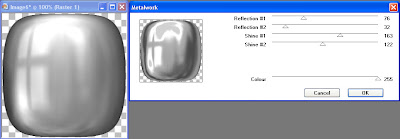
6. Or, the Toadies Metalwork plugin was suggested for giving the bead an iridescent shine.
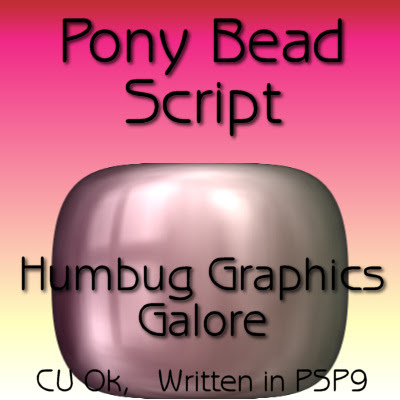
Finally, I scripted the easy pony beads. Please leave a comment if the script works in other versions of PSP. The zip file also contains a preset for Balls and Bubbles if you cannot figure out my lighting settings. Place the preset in your Presets folder and then select it in the drop down menu when Balls and Bubbles is open.

Thank you so much for taking the time to write these tutorials. It's very much appreciated by me.
ReplyDeleteThank you! Your blog post will be advertised on the DigiFree Digital Scrapbooking Freebie search engine today (look for timestamp: 21 Jun [LA 07:00pm, NY 09:00pm] - 22 Jun [UK 02:00am, OZ 12:00pm] ).
ReplyDeleteThank you so much for sharing.
ReplyDeleteNot sure if my comment got through or not. My computer has be acting up.
ReplyDeleteI would like to thank you for this tutorial. It helped me learn how to make this bead that I much needed for a necklace I wanted to make. I also would like to let you know that I'm making a tutorial on how to make a necklace in PSP. Also I would like to link this tutorial on mine to let others know where they can find the tutorial on how to make a pony bead.
Thank you once again! :D
Christin,
ReplyDeleteIt would be great if you wanted to add a link to this tutorial. I'm glad you found it useful.
Spencer