

This tutorial will show you how to make a simple rainbow in Photoshop.
1. Open up a new canvas of equal width and height. Mine is 1200 x 1200 pixels.
2. Select the Rectangle Tool. Set the color to be the one for the first band in the rainbow. Then, click on the rectangle next to the Preset Shape to access the Options menu. Set the Options to Fixed Size and make the width the same as your canvas and your height to 100 pixels.


Width = 1200 px
Height= 100 px
3. Click the canvas to create the rectangle then switch to the Mover tool.

4. Use the Mover tool to move the rectangle so that it is even with both the left and right sides of the canvas and there is a space between the rectangle and the bottom of the canvas.

5. Right-click on this shape layer in the layer palette and select 'Duplicate Layer' from the menu.

6. Optional. Change the name of the new layer to something more informative than 'Shape 1 copy'. I named mine Shape 2.

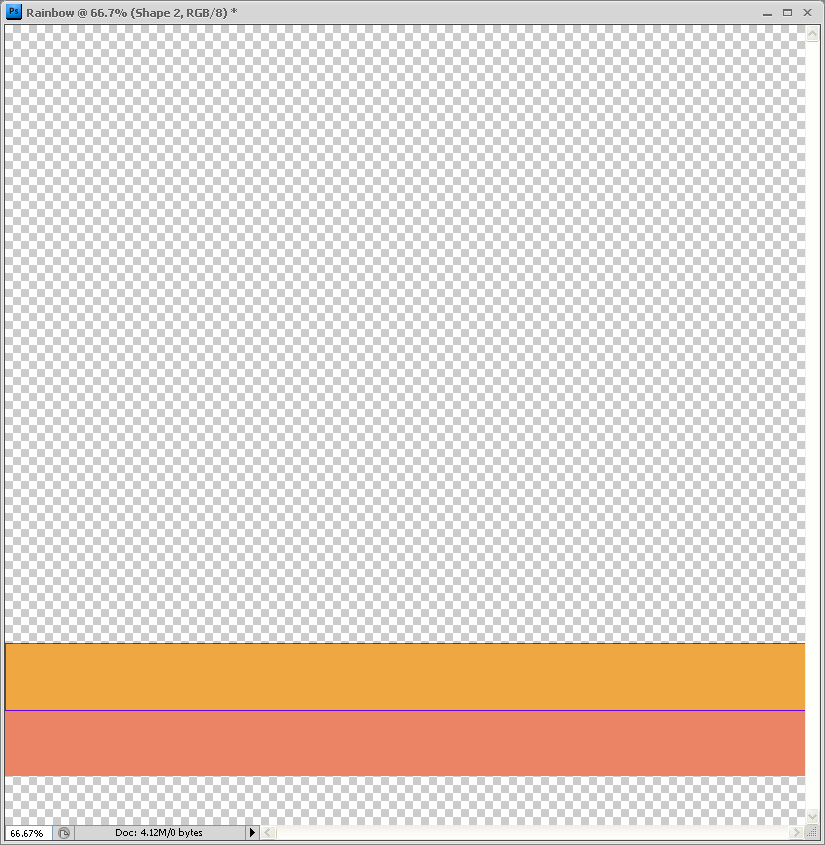
7. Click the Color Fill on the new shape layer. Select the color for the second band in the rainbow.

8. Use the mover tool to move the new band to above the previous band.
9. Repeat steps 5-8 until your desired number of rainbow bands. I repeated 3 more times for a total of 5 bands. Here is my final canvas and layer palette.


10. Optional. If you want to use papers instead of flat colors, then clip the papers to the shapes.
11. Right-click on the layers palette and select 'Merge Visible' to reduce all the vector shape layers to a single raster layer.

12. Select the Polar Coordinates filter (Filter > Distort > Polar Coordinates) and select 'Rectangular to Polar'.

12. Select the crop tool and crop the canvas so that only the top half remains. If you have chosen to use a paper and the paper is not seamless, you may wish to first flip the canvas (Edit > Transform > Flip Vertical) before cropping so that there isn't a seam down the center of your rainbow.

The rainbow is now complete.

Thanks, that's great.
ReplyDeletethanks for the tutorial...i thought it would be involve warping and stuff, your way is so much easier!
ReplyDeleteGreat tutorial, Spencer. Thanks!
ReplyDeleteJust a quick note to let you know that a link to this post will be placed on CraftCrave today [24 Feb 12:00am GMT]. Thanks, Maria
ReplyDelete