
1. First, it is necessary to generate the curved vector on which the text will sit. The easiest way to do this is to create a circle or an ellipse using the Ellipse Tool. It doesn't matter what fill is used for the ellipse as it will either be deleted or hidden after the text is complete.

Show Nodes = Checked
Create on Vector = Checked
2. Select the Text Tool. Make sure 'Create as Vector' is selected.
3. Hover the text tool over the vector path that is part of the ellipse. A curve should appear under the 'A' in the text tool
 .
.

4. Click and the text box will appear. Type your text.

5. If you clicked on the top of the vector (and you have 'Align Center' selected for your text tool), then the text will be on top of the shape.
Here are examples as to what happens depending on where you click.
Top

Left Side

Right Side

Bottom

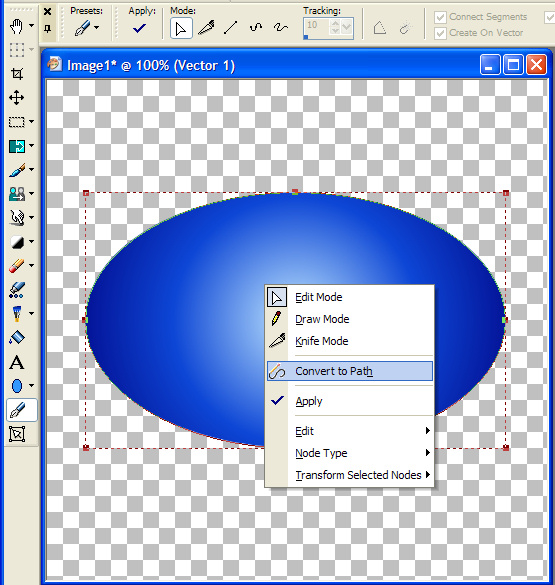
6. If you want the text to go in a different direction, first convert the ellipse to a path by selecting the Pen Tool, then right-click and select 'Convert to Path' from the menu.
7. Right-click again and select 'Edit' and then 'Reverse Path' from the menu.

Here is how the text looks depending on where you click on the shape after reversing the path.
Top

Left

Right

Bottom

8. Hide the shape and the text is complete.


No comments:
Post a Comment