I wanted to see how easy or hard it would be to make a parchment texture in Paint Shop Pro versus Photoshop.
Supplies:
Balls and Bubbles Preset (Optional)
Because Paint Shop Pro does not have a clouds effect, it takes a bit more work to create a parchment paper texture. You can use a plugin, like Mura Meister Clouds or Eye Candy: Texture Noise and skip steps 5-11 .
1. Open a new canvas 1200 x 1200. I'm going to turn this into a seamless tile before using it to make a full-sized paper.
2. Fill the canvas with gray (#808080).
3. Apply the Grain fine cloudy Texture (Effects > Texture Effects > Texture).
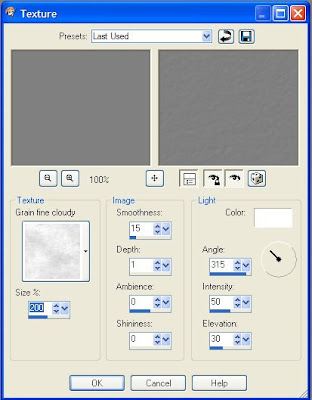
Texture = Grain fine cloudy
Size = 200%
Smoothness = 15
Depth = 1
Ambience = 0
Shininess = 0
Color = White
Angle = 315
Intensity = 50
Elevation = 30
4. Sepia tone the image to age it (Effects > Artistic Effects > Sepia Toning).
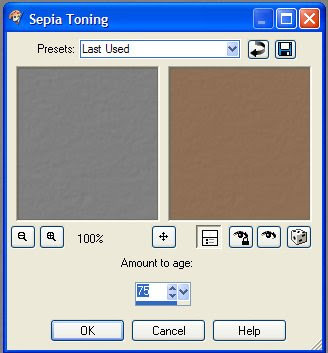
Amount to age = 75
5. Now we will create the cloud effect. Create a new Raster Layer. Name it Clouds and change the blend mode to overlay.
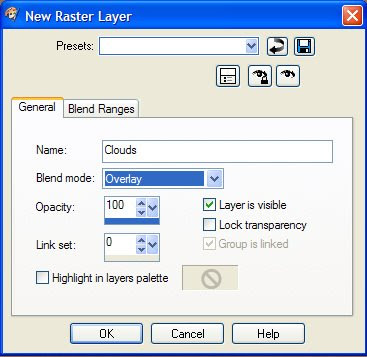
6. Fill the layer with gray (#808080).
7. Apply the Balls and Bubbles effect (Effects > Artistic Effects > Balls and Bubbles).
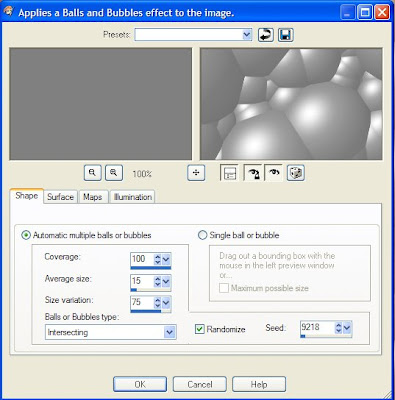
Shape
Automatic multiple balls or bubble = Checked
Coverage = 100
Average size = 15
Size variation = 75
Ball or bubbles type = Intersecting
Randomize = Checked
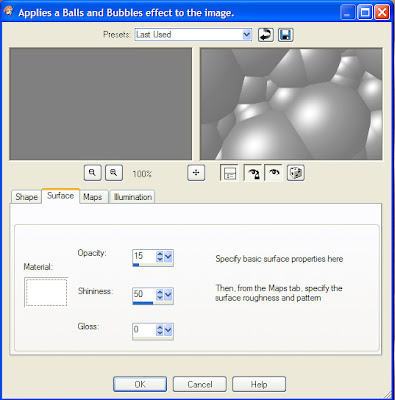
Surface
Material = White
Opacity = 15
Shininess = 50
Gloss = 0
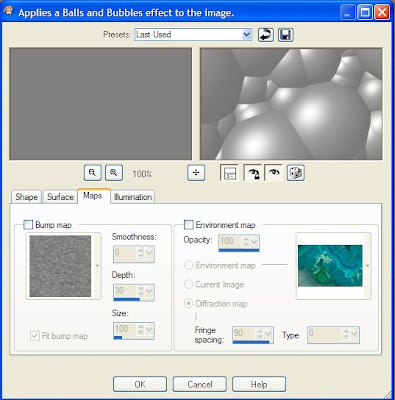
Maps
Bump Map = Unchecked
Environment Map = Unchecked
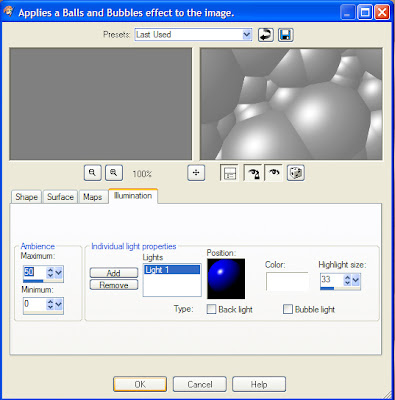
Illumination
Maximum = 50
Minimum = 0
Light 1
- Position = Upper Left
- Color = White
- Highlight Size = 33
- Back Light = Unchecked
- Bubble Light = Unchecked
8. Dilate (Effects > Edge Effects > Dilate).
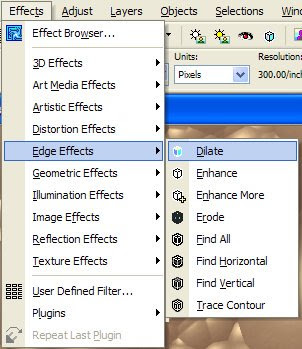
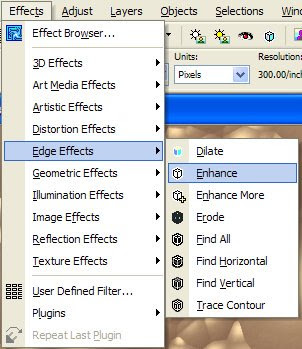
9. Enhance the edges (Effects > Edge Effects > Enhance).
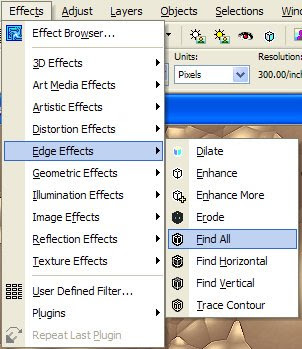
10. Find the Edges (Effects > Edge Effects > Find All).
11. Gaussian Blur to create the clouds (Adjust > Blur > Gaussian Blur).
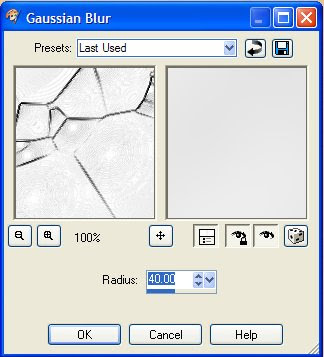
Radius = 40.0
12. Seamless tile the Clouds layer (Effects > Image Effects > Seamless Tiling).
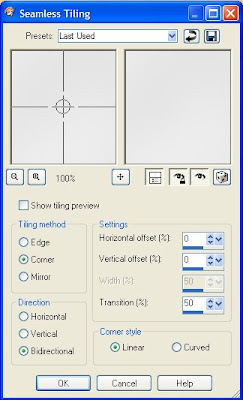
Tiling Method = Corner
Direction = Bidirectional
Horizontal offset (%) = 0
Vertical offset (%) = 0
Transition (%) = 50
Corner style = Linear
13. Merge the layers (Layers > Merge > Merge Visible).
The parchment texture is now complete and can be used as a seamless tile to create larger papers. I have also made a script out of this tutorial which for those of you who want this to be as easy as an action in Photoshop.

Thank you so much for this Freebie. I want to let you know that I posted a link to your blog in Creative Busy Hands Scrapbook Freebies Search List, under the Photoshop/Gimp Resource(s) (Brush(es), Swatch/Palette, ...) post on Jun. 09, 2009. Thanks again.
ReplyDeleteThank you! Your blog post will be advertised on the DigiFree Digital Scrapbooking Freebie search engine today (look for timestamp: 09 Jun [LA 07:00pm, NY 09:00pm] - 10 Jun [UK 02:00am, OZ 12:00pm] ).
ReplyDeleteThank you for the script to make things easy for me, but as I am now beginning to get to grips with PSP I shall also enjoy following the script to gain some valuable experience, your thoughtfulness is much appreciated
ReplyDeleteLove this, Spencer! I'm going to play around with it to see if I can get a decent kraft paper out of it!
ReplyDeleteI have a later version of Corel and I found this guide very useful.
ReplyDelete