
I wrote this tutorial to keep track of which method will make the best-looking rolled paper preview. I present 4 different ways for making the rolled effect. To make a consistent preview, use only one method. This tutorial makes a 4 paper preview, but you can modify it to make more papers by changing the sizes in the custom selection dialog.
1. Open up a 800 x 800 image with a transparent background.
2. Create a Custom Selection. I have circled the location of the custom selection button in red Selection Dialog.

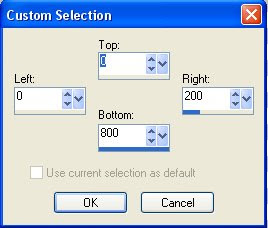
Left = 0
Right = 200
Top = 0
Bottom = 800
3. Fill the selection with one of the four gradients presented in this tutorial. I chose Method #1.
Method #1 - Fading White Gradient + Negative Image
A. Fill with the Fading White Gradient
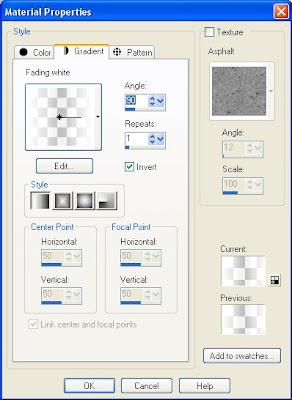
Angle = 90
Repeats = 1
Inverted = Checked
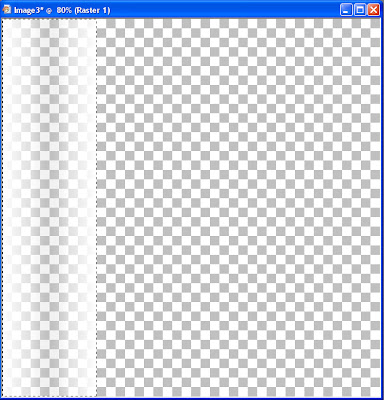 B. Invert the image with Negative Image.
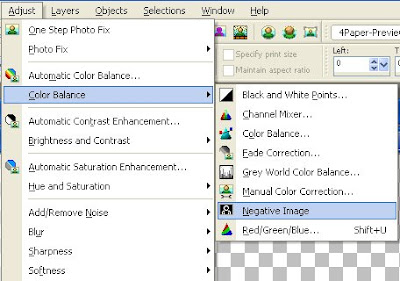
Now the fill is black instead of white.
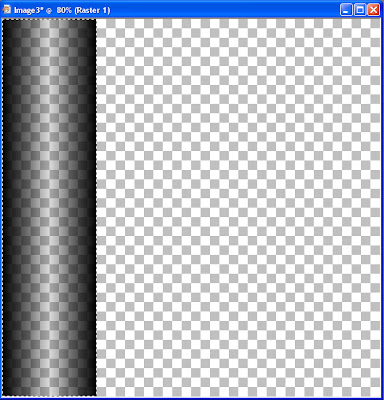
C. Gaussian Blur the selection with the radius set to 10.0.
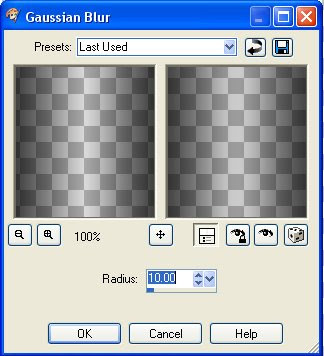
4. Go to Custom Selection and make the next rectangle by increasing left and right by 200. Top and bottom stay the same as before.
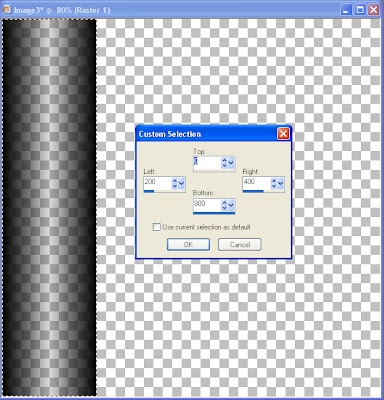 Left = 200
Right = 400
Top = 0
Bottom = 800
4. Fill with the same gradient as before. I am going demonstrate a custom gradient.
Method #2 - Custom Fading Black Gradient
You can make a custom gradient by clicking Edit in the Gradient menu of the Material Properties dialog. Then click new for a new gradient, provide a name, and adjust the sliders.
Select the custom gradient once you have finished making it to your taste and set it to a single repeat. Here are the settings for my custom gradient, Fading Black.
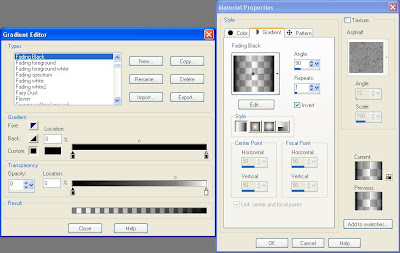 Custom Color = #000000 or Black
Top Diamond Location = 50%
Bottom Diamond Location = 77%
Opacity = 0
5. Gaussian blur the selection with the radius set to 10.
6. Go to Custom Selection and make the next rectangle by increasing left and right by 200. Top and bottom stay the same.
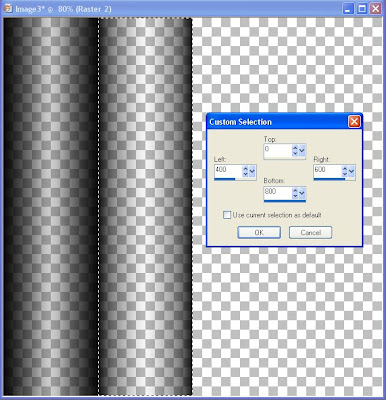
Left = 400
Right = 600
Top = 0
Bottom = 800
7. Fill with the gradient. I am going to demonstrate the Fading foreground.
Method #3 - Fading Foreground
A. Set your foreground color to black, then select the fading foreground gradient. The main difference is that Invert is now unchecked.
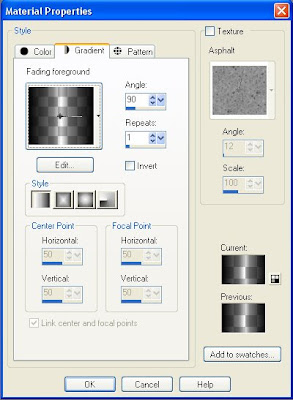 Angle = 90
Repeat = 1
Invert = Unchecked
9. Gaussian blur the selection with the radius set to 10.
10. Make your final custom selection and increase left and right by 200.
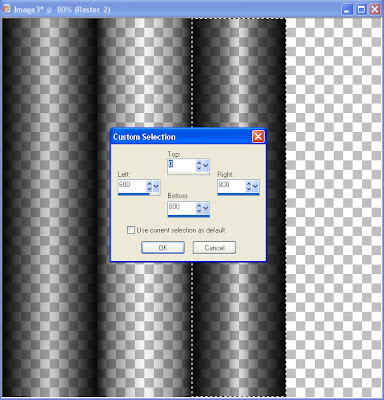
Left = 600
Right = 800
Top = 0
Bottom = 800
11. Fill with the gradient. I am going to demonstrate the Fading Background.
Method #4 - Fading Background
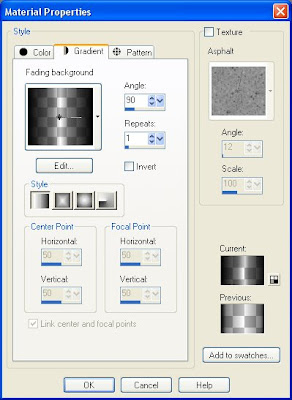
This is similar to the Fading Foreground except you set your foreground color to black, then choose the Fading Foreground gradient from the Materials palette.
12. Gaussian blur the selection wit the radius set to 5.
13. Set the opacity of the layer to 90%.
14. Add a new layer (Raster 2 in this tutorial). Place that layer under the layer with the gradient fills (Raster 1 in this tutorial).
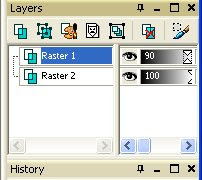
15. Choose the new layer (Raster 2) if it not already selected. The fourth rectangular selection should still be present. Fill it with the paper of your choice by opening your paper and then selecting it as a pattern in the Materials palette.
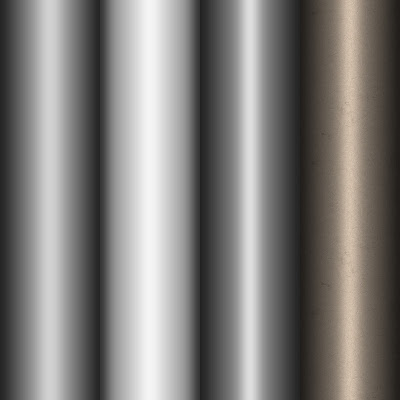
16. Re-select each of the rectangles using the custom selection and fill with your papers. You can also paste each paper as a separate layer, then move it until it is located under a "roll", but I found it easier to make the custom selection.
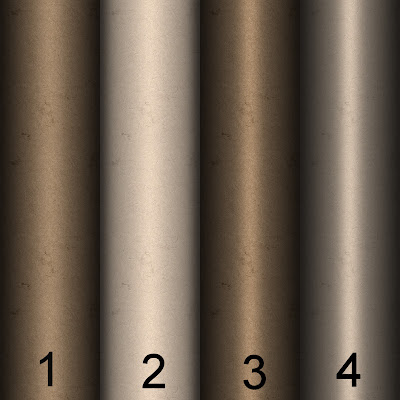
Here are the four different methods.
Anything you make with this tutorial is yours to do with as you see fit.

Great tutorial nicely done
ReplyDeleteeadie
I'm so excited to know to do this now! Thank you so much. I even rave about this on my blog!
ReplyDeleteNancy the RomanceChick
www.nancysbrandt.com
Thank you! Your blog post will be shared on the
ReplyDeleteCU Freebies Only Forum Friday May 8th 2009!
in this topic
Tutorials Your Place to find Commercial Use Scrap Booking Freebies!
Thanks For Sharing your Time and Talent with us!
I have been looking everywhere for a tutorial like this!
ReplyDeleteThank you! CU Freebies Only Forum Sent Me! Thanks For Sharing your Time and Talent with us!
Kyla Kreates