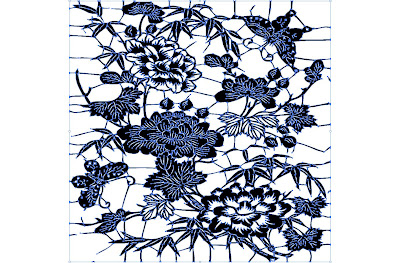
This tutorial will show you how to use LiveTrace in Illustrator to trace a piece of black and white clipart. This will turn the clipart into a vector image which can easily re-scaled or editted.
1. Open a new canvas in Illustrator. I made mine 3600 x 3600 because that will be the size of my final image.
2. Paste your clipart onto the canvas.
3. Go to Object > Live Trace > Make. This will trace the object with the default settings.
Or you can select Live Trace from the toolbar.
4. Once the object has been traced, the trace menu will be available. Select the Black and White Logo preset for a better trace. Or you can go under the Edit menu and select Tracing Presets to change the preset.
5. Re-scale the image easily by changing the values for Width and Height. The image will scale without blurriness as the trace is a vector. I copied the enlarged image and pasted it into Photoshop.
6. Optional. Expand the trace with the Expand button if you wish to use the pen tool to modify the vector or if you want to divide the vector into smaller components.
Once the trace has been expanded, the pen tool can be used to move anchors.


A big thumbs up for this! Very useful and easy to understand. I can't wait to try it out.
ReplyDeleteMany, many thanks!
Just a quick note to let you know that a link to this post will be placed on CraftCrave today [05 May 03:00pm GMT]. Thanks, Maria
ReplyDeleteCannot wait to try out this tutorial. You're tutorials are so well written and appreciate that the tutorial images are available at a very large clear size. Cannot believe I have never found your website until this week. Thank you so much, excellent job! Thank your for being so generous with your talent.
ReplyDeleteCool tutorial. Just a note about the live trace, if you don't want the white included you should in options click on ignore white. I use this method to get leading for stained glass in Photoshop.
ReplyDelete