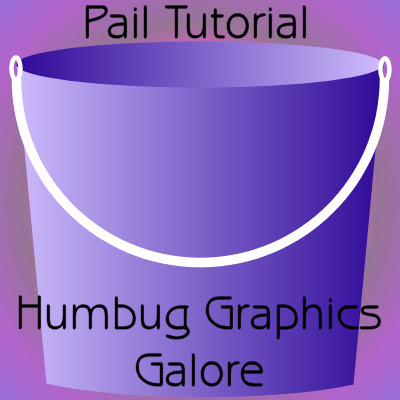
I wrote this tutorial to emphasize the power and flexibility of vector layers over raster layers. I'm going to make a small pail and show how this small pail converts seamlessly to a larger pail while maintaining anti-aliasing. This allows resizing without creation of the "jaggies" or blurriness.
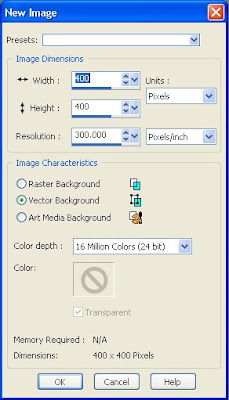
1. Open a new canvas 400 x 400 with a vector background.
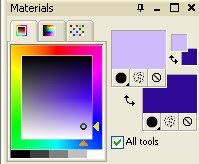
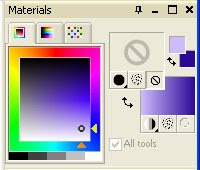
2. Change your foreground color to a light color (I used #cdbbfb). Change your background color to a darker shade of your foreground color (I used #2e0997).
3. Choose the rectangular vector shape, then change the background material to the foreground-background gradient. Set the angle to 90.
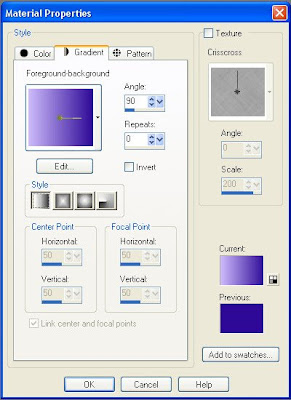
4. Change the foreground material to transparent (or set the line width to 0).
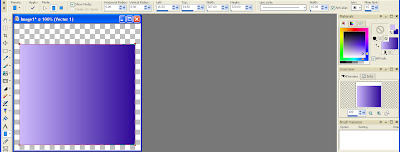
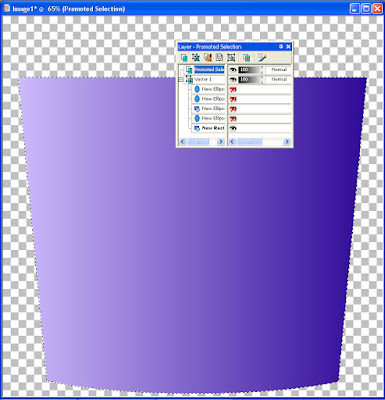
5. Draw out a rectangular vector shape on your canvas for the body of the pail. Make sure that Show Nodes is checked. Also make sure that Anti-alias is checked.
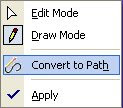
6. Convert the shape to a path by right-clicking and then selecting convert to path.
7. Since show nodes is checked, after the conversion to a path, it is possible to see the nodes without having to switch to the pen tool. Click on the bottom left node to select it and push it in toward the middle of the canvas.
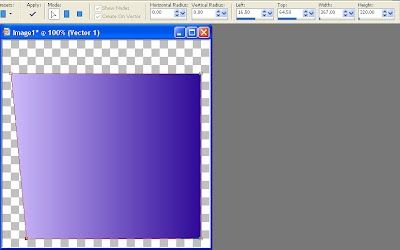
8. Go to the bottom right node and push it in toward the middle of the canvas. Now the bottom of the pail is narrower than the top of the pail.
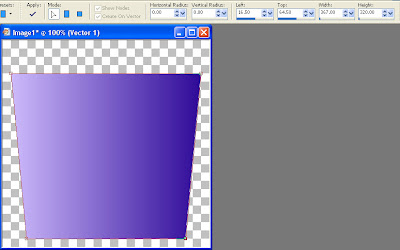
9. Switch to the Pen tool and in the edit mode, change the node type of the lower right node to Curve After.
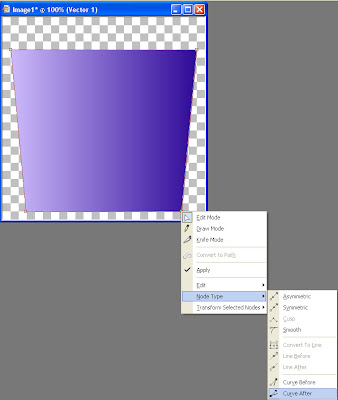
10. Pull the handle down to create a curve for the bottom of the pail.
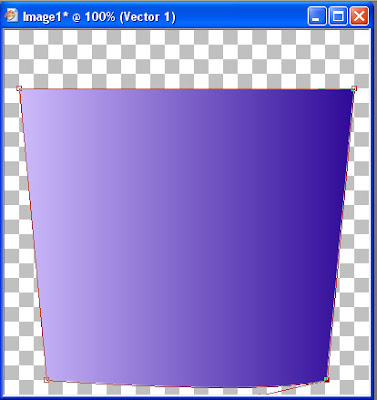
11. Select the bottom left node by clicking on it and change its node type to Curve Before. Pull the handle down to create a curve for the bottom of the pail.
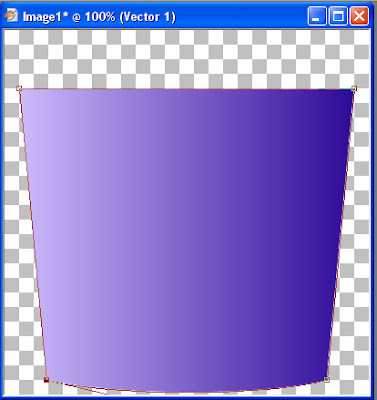
12. Go to Preset Shapes and select the ellipse shape. Invert the gradient for the background material by checking the invert on the gradient.
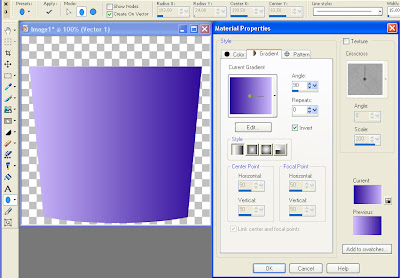
13. Draw out an ellipse to create the interior of the pail.
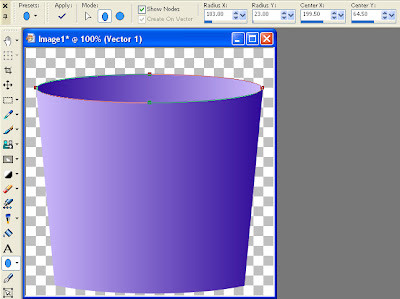
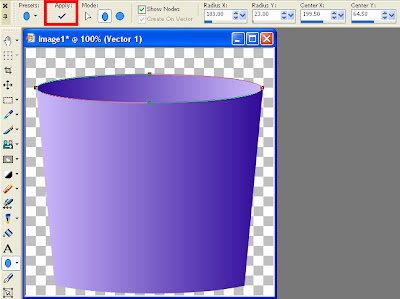
14. Click apply to de-select the ellipse.
 15. Change the foreground material to white and the background material to transparent. Select the circle preset shape and set the line width to 10.00. Draw out a large circle to begin creating a handle for the pail.
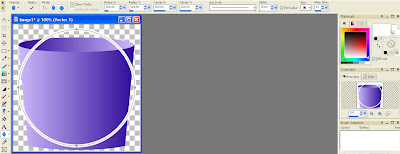
16. Convert the shape to a path.

17. Go to the Pen tool and select the top node. Delete the node.
18. Go the Object Selection Tool and use it to move the handle so that it is close to the rim of the pail.
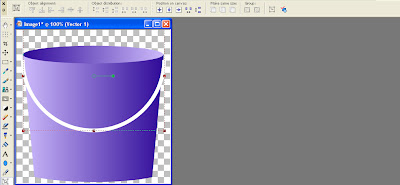
19. Select None.
20. Go to the ellipse preset shape. Change the line width to 5.0 and draw out a small oval to connect the handle to the pail.
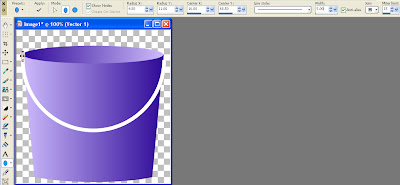
21. Copy and then Ctrl+G to Paste as a Vector Object. Move the vector to the other end of the handle.
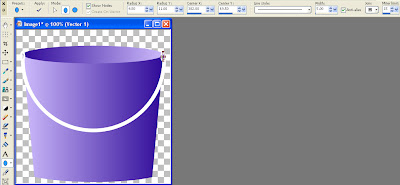
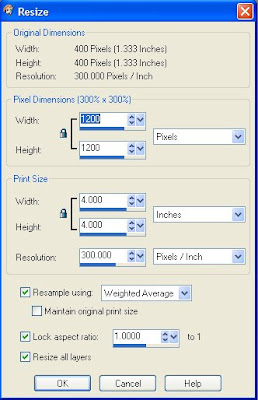
22. The basic pail is now complete. To change sizes while maintaining anti-alias, resize using weighted average. Notice how the image does not develop "jaggies" or become fuzzy. You can also use the Object Selection Tool (or the Pick Tool) to drag the pail to the new size.
 23. Once you are satisfied with the size, you can convert the entire vector layer to raster to apply effects or you can convert each vector object individually by selecting it with the Object Selection Tool (or the Pick Tool), hide the other vector object layers, obtain the selection using Selections > From Vector Object (Ctrl + Shift + B), and then promote the selection to a layer (Ctrl + Shift + P).
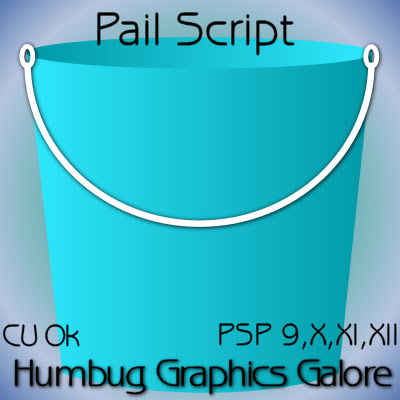
I have a script that just makes the vector pail. If you want to have a pail that uses foreground-background gradients as seen in this tutorial, you must first set your foreground and background colors prior to running the script.

Thank you so much for this Freebie. I want to let you know that I posted a link to your blog in Creative Busy Hands Scrapbook Freebies Search List, under the Page 4 post on Jul. 13, 2009. Thanks again.
ReplyDeleteHiya! Just wanted to say thanks for the scripts! I love reading your tuts! Hope you're having a good day! Naz.
ReplyDeleteThank you for all your hard work and generosity. Your tutorials and freebies are fantastic and much appreciated!
ReplyDelete