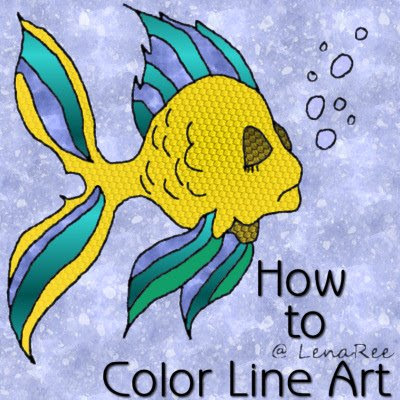
This is a tutorial for SBQ Dawn of Scrap Stuff with PSP and PS though I suppose anyone else can use it. It covers coloring line art in PSP. I wrote it using the line art fish that she sent through the group. There are two different versions of this tutorial: one for less starting preparation and using the paintbrush and one for more starting preparation and using the flood fill tool.
Supplies:
Line Art Fish (Dawn has very kindly provided permission for me to share the fish.)
Version 1 - Fast Setup and Paintbrush Tool
1. Open up your graphic of choice. I am using a line art fish drawn in Art Rage by SBQ Dawn's daughter, LenaRee. To make the layers more simple to interpret, I removed her copyright layer. So, what remains in the art layer (called Merged).
2. Make a new layer (Layers > New Raster Layer). I chose to call mine Color.
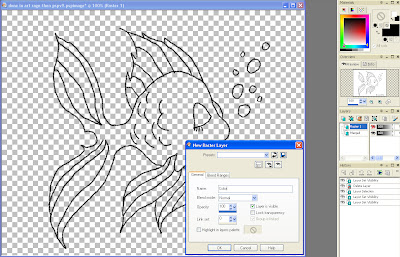
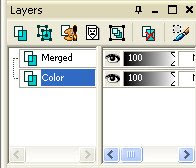
3. Move the new layer (Color) so that it is under the line art layer (Merged).
4. Return to the line art layer and use the magic wand to select all the non-line art regions. I selected all the transparent areas using the following settings on my magic wand.
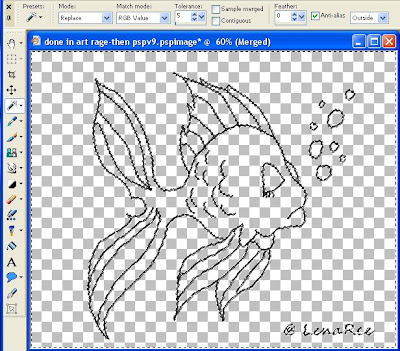
Match mode = RGB Value
Tolerance = 5
Sample merged = unchecked
Contiguous = unchecked
Feather = 0
Anti-alias = checked
Outside
5. I inverted my selection (Ctrl+Shift+I) and contracted the selection by one (Selections > Modify > Contract). Contracting the selection is to prevent white lines from showing up between the line art and the coloring. If the line art is not anti-aliased, then selection contraction can be skipped.
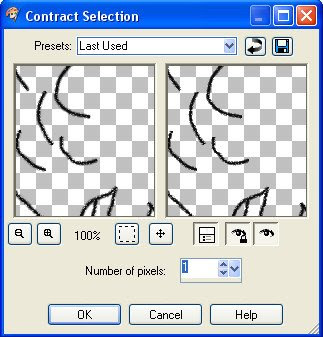
6. Change to the Color layer, select your paintbrush and color, then paint the object to whatever color you want. By coloring on the blank layer, this preserves the black lines of the line art.
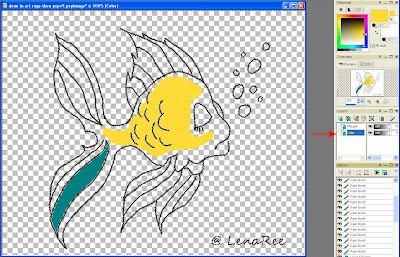
This concludes the first version of my line art coloring tutorial.
Version 2 - Extensive Pre-Coloring Preparation and using the Flood Fill Tool
Now I have very poor hand-eye coordination so, I do not like to use the paintbrush a lot. I prefer to use the flood fill tool.
1. Steps 1-5 are exactly the same as in version 1. So, with the selection contracted, invert the selection (Ctrl+Shift+I), and then hit delete. I did this because since the art was drawn in Art Rage, it was composed of many little dots and I want to make a continuous dark, solid line with just a hint of blur at the edge to give it a smooth look. By deleting, I have now removed the uneven edges.
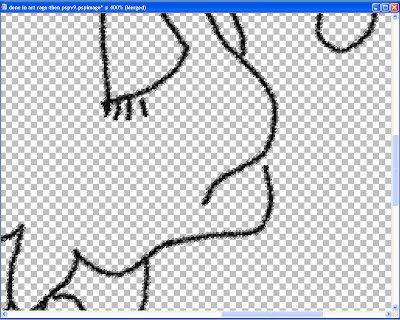
2. Invert the selection again (Ctrl+Shift+I).
3. Select the flood fill tool and fill the selection with black using the following settings:
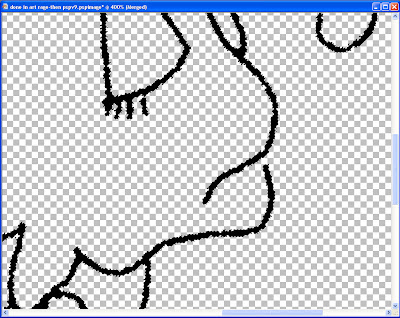
Match mode = None
Tolerance = 20
Sample merged = Unchecked
Blend mode = Normal
Opacity = 100
4. You can see that there are gaps in the line art which will make using the flood fill tool difficult. So, I De-Selected (Ctrl+D) and patched the gaps using the paintbrush.
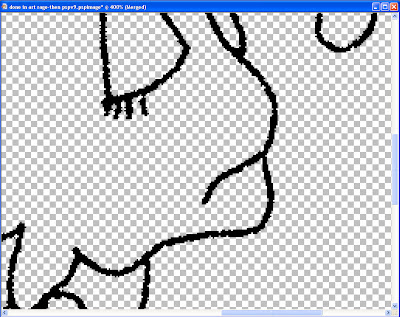
5. Once all the gaps have been patched, I used the magic wand to select the transparent region.
6. Expand the selection by 1 (Selections > Modify > Expand).
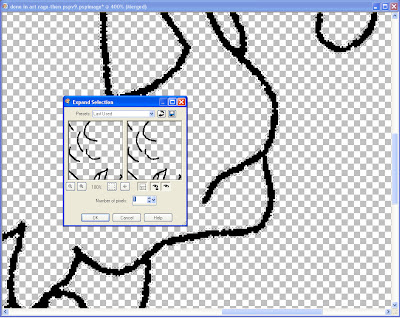
7. Blur the selection to return the anti-alias (Adjust > Blur > Blur). You can use whichever blur suits your fancy. Tastes will differ.
8. Contract the selection by 1 (Selections > Modify > Contract).
9. Feather the selection by 1.
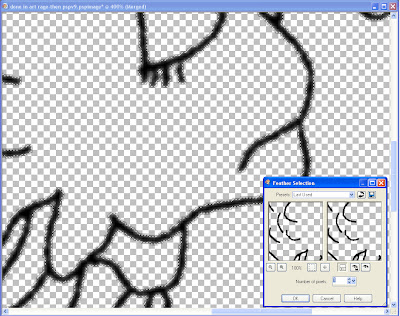
10. Invert the selection (Ctrl+Shift+I).
11. Hit delete to smooth out the edges.
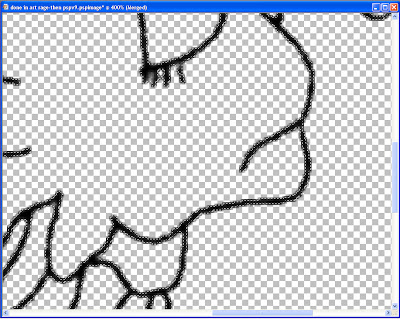
12. Because of the feathering, we cannot use the existing selection and must re-select.
a. Select None.
b. Use the magic wand and select the transparent areas.
c. Invert the selection (Ctrl+Shift+I).
d. Contract by 2 (Selections > Modify > Contract).
e. Invert the selection (Ctrl+Shift+I).
13. Change to the color layer. Select the flood fill tool and begin filling the fish. I changed my Flood Fill to Match Mode = RBG and left the other settings the same. You can fill with solid colors, gradients or patterns. I have done some of each to show the possibilities. At the end of the flood filling spree, I usually go through with the paint brush and touch up any spots that the flood fill missed.
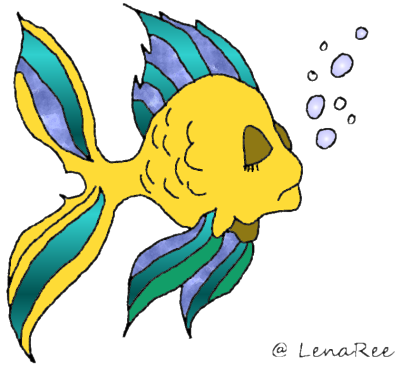
Many of the steps in version 2 can be skipped if you have line art with very clean and well-defined edges. The trick with coloring line art is to color on a layer behind the drawing. In a best case scenario, it might be possible to do perform steps 1-5 of version 1 and then proceed with the flood fill tool. Remember to expand your selection so that the anti-aliasing is also colored. If not, you will end up with white edges between the line art and the color. I listed all the steps version 2 of the tutorial in case someone might be trying to color in hand-drawn art that has not been re-touched.

thank you so much for sharing this tutorial! I am so very new - enjoy all the information I can get!
ReplyDeleteI too love to color - so enjoyed reading your tutorial.
ReplyDeleteThank you! Your blog post will be shared on the
ReplyDeleteCU Freebies Only Forum Friday May 8th 2009!
in this topic
Tutorials Your Place to find Commercial Use Scrap Booking Freebies!
Thanks For Sharing your Time and Talent with us!