Donations Welcome

I am currently saving toward a new version of Paint Shop Pro. If you wish to help me out, then please donate.

Larger versions of images can be seen by clicking on the image. Also, thank you for your kind and encouraging comments. I love reading the comments. If you use my any of freebies, I would be overjoyed with a comment containing a link to your item. I love seeing any of my freebies in use.

Thursday, September 23, 2010

Twisted Diamond Mini Scarf

Mini Scarf

I've been mucking around with a design for a simple scarf.  I've made the design available as a free download via Ravelry if anyone is interested in trying it out.  I got this yarn free via freecycle and I wanted to see if there was enough to turn into a scarf.  Unfortunately, it is a bit short, so it is a mini scarf.  I can wrap it around my neck once, but it would require a shawl pin to hold it shut.  I'm planning on tucking it into my coat.  The yarn is very nice, thick and warm.

Sunday, September 19, 2010

Used Gift Wrap


My kid had a birthday two months ago and I thought it would be fun to scan in the used gift wrap.  So, I saved the gift wrap and never got around to doing more than one scan.  This morning, the gift wrap was put into the recycling and I am admitting that I don't have time to scan items.  However, I did scan one piece (and fix the rips), so I am making it available for people to use.

In other news, I am considering different file sharing services.  Recently 4shared has been blacklisted as a malicious site by my firewall.  This is making it very difficult for me to upload to 4shared.  Before I buy a paid account, I am having a look at some other file sharing services.  I am currently debating between Megaupload and Mediafire (but not Rapidshare, because I hate Rapidshare).  I will also consider other services.  Do people have opinions about which file sharing service is better or suggestions of different ones?  Or, should I stay with 4shared?

Saturday, September 18, 2010

Layering and Blending Overlays

Someone left a comment asking for a tutorial showing how to use the circle overlay set.  However, the commenter did not state a graphics program for the tutorial.  So, I have written the tutorial for Photoshop.  I guess I'll have to wait and see if this is the correct program.  You can be very complex or very simple with overlays.  This will be a very simple tutorial on layering and blending overlays.  I will not go into great detail on re-coloring overlays, though you can do this to make your papers even more varied.

Supplies:

Circle Overlay Set

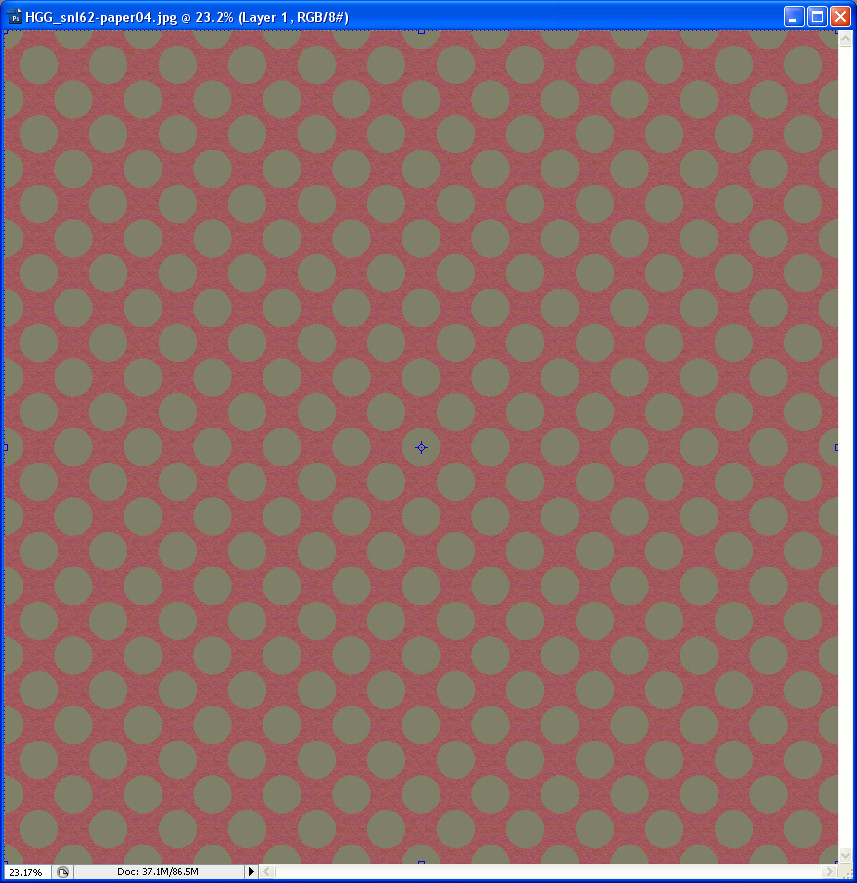
1.  Open up an existing paper that you want to change or open up a new canvas the desired size of your paper and fill with the color of your choice.  I have opened up one of my papers from my Anti-Doodle Kit.

2.  Open the overlays in the circle overlay set.


3.  Drag an overlay on top of the existing paper by selecting the Move Tool.  Next, left-click on the overlay, then while holding down the button, drag it over to the canvas holding the paper.  I dragged Overlay01.


4.  Go to the layers palette and change the blend mode of the overlay layer by clicking on the blend dropdown menu and selecting a new blend mode.  I chose Multiply.


5.  Repeat steps 3 and 4 for all the overlays.  My blend modes are:

Overlay01 = Multiply
Overlay02 = Overlay
Overlay03 = Luminosity
Overlay04 = Normal


Obviously, you do not need to use all the overlays.  You can use just a few of them.  In this case, I only used 1-4.

6.  Optional. You can also use the Hue/Saturation (Images > Adjustments > Hue/Saturation or Ctrl + U) to change the color of the overlay.


Here is an example where I only used 3 overlays and I changed the color on one of them.

Friday, September 17, 2010

Finding the Manual Color Correction Tool

In later versions of Paint Shop Pro (such as PSP X2), the Manual Color Correction Tool has been removed from the default menus.  However, the tool still exists and can be placed on the toolbar for easy access.

1.  With Paint Shop Pro open, right-click inside the PSP window.  Select Customize from the menu that appears.


2.  In the Customize menu, go to the "Unused Commands" category on the left side.  Click it to select it.

3.  Scroll down the menu on the right side until you reach Manual Color Correction.


 4.  Select Manual Color Correction by clicking it and then without letting go, drag it to your toolbar.  Release the tool and it will drop to that location in your toolbar.


Wednesday, September 15, 2010

Circle Overlay Set


This is a set of five overlays which can be mixed and matched to create different combinations of dot patterns.

Monday, September 13, 2010

Circle & Line Overlays

I have been really busy and haven't had much time to do a lot of designing, but I've been in a mood to make overlays.  Here is a set of six transparent overlays.

Thursday, September 9, 2010

Using the Manual Color Correction Tool

The Manual Color Correction Tool has been removed from the default menus of newer versions of Paint Shop Pro and this is a real pity because this is an excellent tool and I feel that it works a lot better than the similar Replace Color Tool in Photoshop.  Here are some of my notes on how to use the Manual Color Correction Tool.


1.  Clicking anywhere on the source image or even in PSP will set the Source color.  The Source color is the color that you want to change in your original image.

2.  Right-click on the Target color and a palette of recent colors will appear.  Clicking on  Other will produce the Color Picker.


3.  When the Color Picker is available, clicking in the palette or in any open canvas in PSP will choose a color.