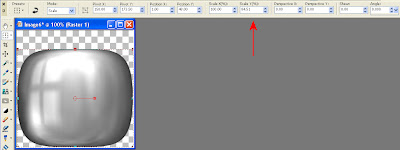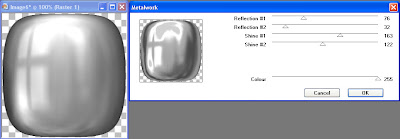
I saw a tutorial for a fan in PhotoImpact that used a funky feature of the program called Path Wrap and I decided I wanted to see if I could duplicate this effect in PSP. You can easily curve text on a path in PSP, but not shapes, so I had to come up with a different method.
Supplies:
Fanslats script
Cymbidium image1. Open a new canvas 1200 x 1200.
2. Use the custom selection tool and create a new selection.
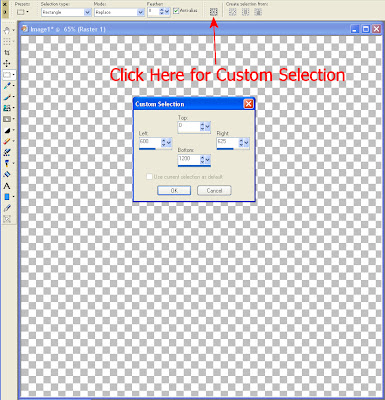
Top = 0
Bottom = 1200
Left = 600
Right = 625
3. Fill the selection with white.
4. Repeat steps 2 and 3 twenty-one more times. Each time, add 27 to the Left and Right numbers. For example, the first repeat will have the following settings:
Repeat 1Top = 0
Bottom = 1200
Left = 627
Right = 652
Because this step is so tedious, I wrote a mini-script that will create the twenty-two slats. To use the mini-script, open your canvas, then run HGG_fanslats.
5. You will now have 22 slats that go halfway across the canvas. Select None (Ctrl + D).
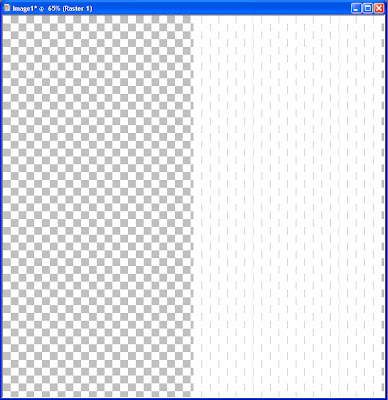
6. Apply the Polar deformation (Effects > Deformation Effects > Polar Coordinates).
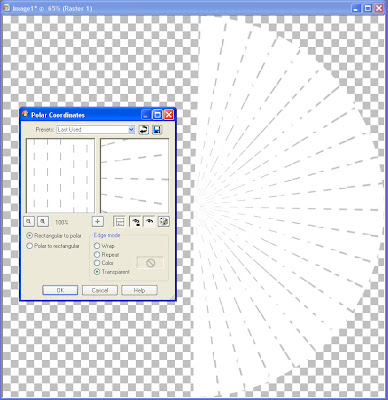
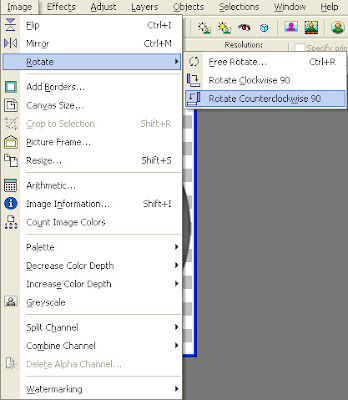
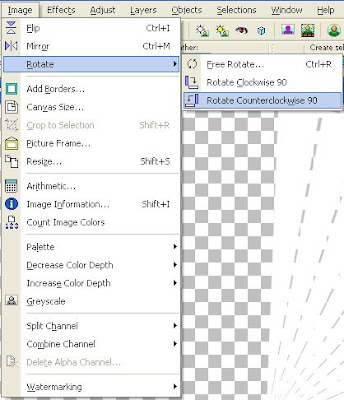
7. Rotate the image 90 degrees to the left (Image > Rotate > Rotate Counterclockwise 90).
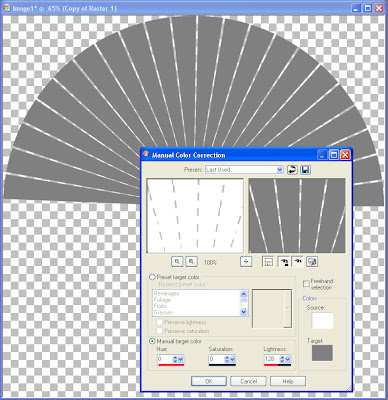
8. Duplicate the layer (Layers > Duplicate) and use the manual color correction tool to change the color from white to grey, for easier visualization.

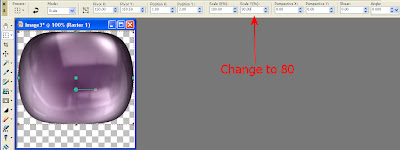
9. Select the Raster Deformation Tool and deform the grey layer using the following settings:
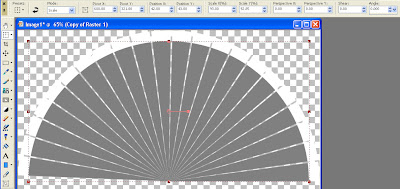
Mode = Scale
Pivot X = 600.00
Pivot Y = 321.00
Position X = 42.00
Position Y = 43.00
Scale X = 93.00
Scale Y = 92.85
Perspective X = 0.00
Perspective Y = 0.00
Shear = 0.00
Angle = 0.000
Click the arrow to apply the settings.
10. Select All (Ctrl + A). Then click the fan with the selection tool to float the selection.
11. Now, defloat the selection (Ctrl + Shift + F).
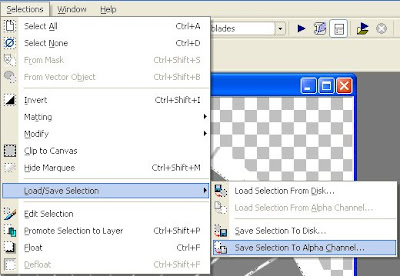
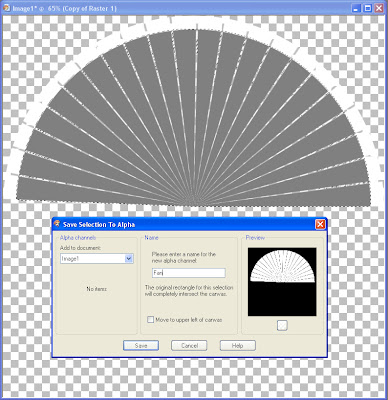
12. Save the selection to the alpha channel (Selections > Load/Save Selections > Save Selection to Alpha Channel). I called the channel Fan.
13. Create a new raster layer. Name it Struts.
14. Use the selection tool to draw a circle, using the location where all the slats come together as a starting point.
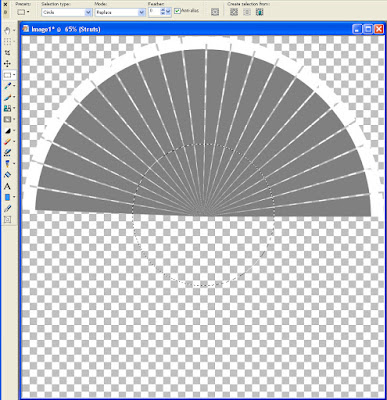
15. Fill the selection with a color, pattern, or gradient for the struts.
16. Load the selection from the alpha channel (Selections > Load/Save Selections > Load Selection from Alpha Channel.
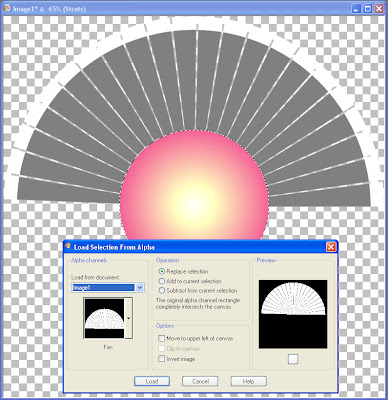
17. Click the selection to float it and apply a drop shadow.
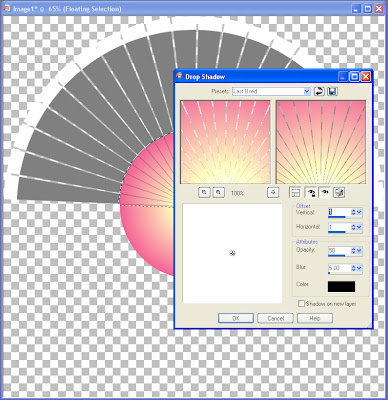
18. Defloat the selection (Ctrl + Shift + F).
19. Expand the selection by 2.
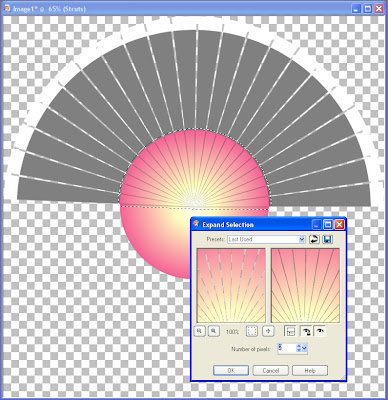
20. Invert the selection (Ctrl + Shift + I).
21. Press the delete key to clear the selection and then Select None (Ctrl + D).
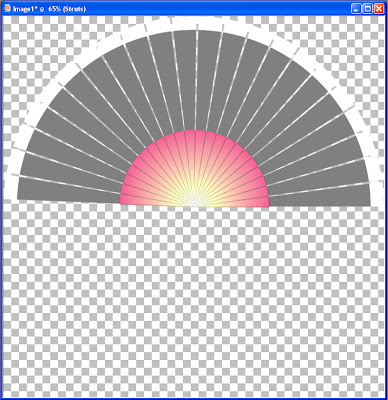
22. Duplicate the struts layer (Layers > Duplicate).
23. Invert the layer (Ctrl + I).
24. Raster deform the layer.
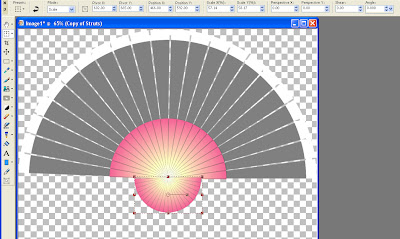
Mode = Scale
Pivot X = 602.00
Pivot Y = 665.00
Position X = 466.00
Position Y = 592.00
Scale X = 57.14
Scale Y = 58.17
Perspective X = 0.00
Perspective Y = 0.00
Shear = 0.00
Angle = 0.000
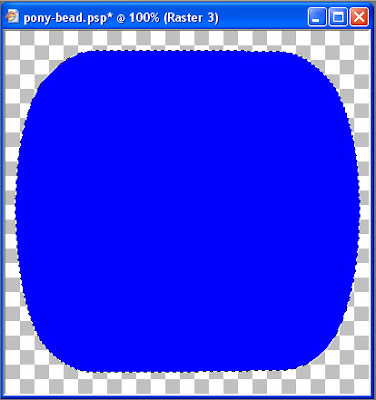
25. The basic body of the fan is now complete. To make a ball for the strut pivot, I used the selection tool to draw a circle.
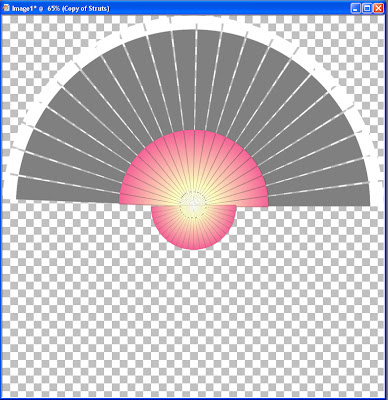
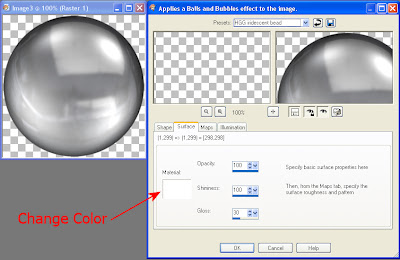
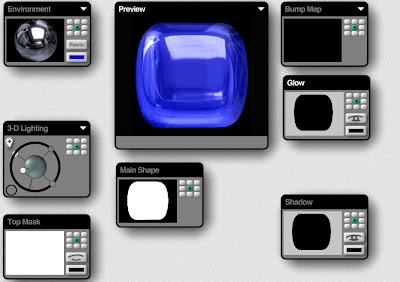
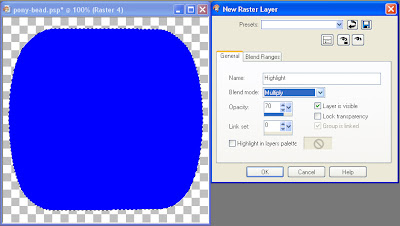
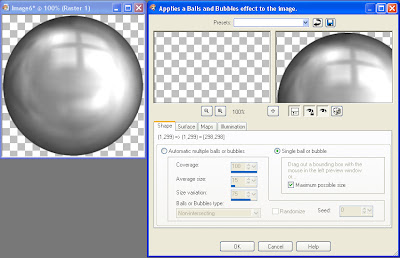
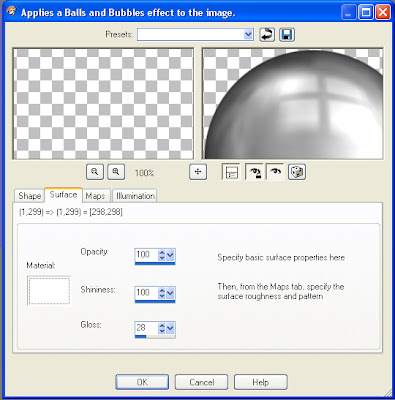
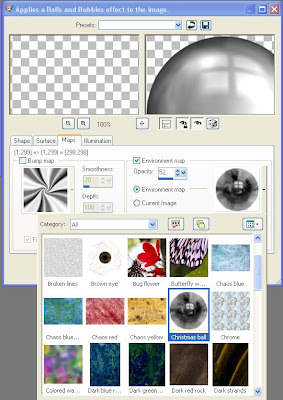
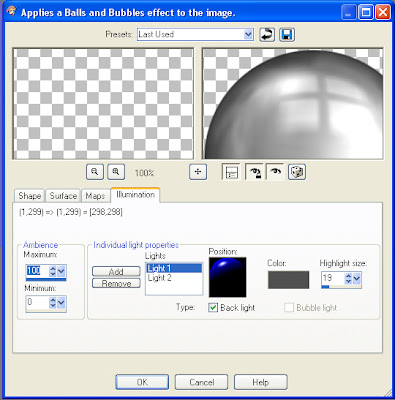
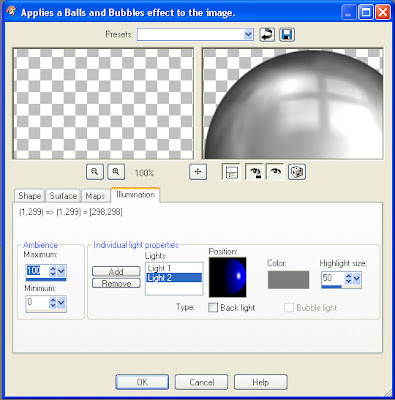
26. Use balls and bubbles to create a ball. I used my iridescent bead preset which you can find in my
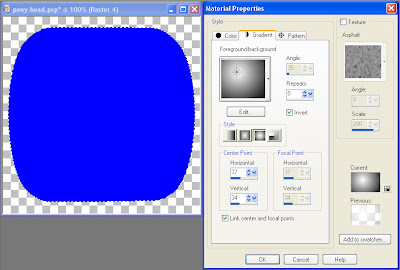
iridescent bead tutorial and then changed the Material to the same gradient as my fan struts.

27. There is a slight halo around the ball, so I contracted the selection by 2 (Selections > Modify > Contract).
28. I added a drop shadow to give my ball greater depth (Effects > 3D Effects > Drop Shadow).
29. Select None (Ctrl + D) and then select the bottom-most layer (the layer with the white fan slats).
30. Select All (Ctrl + A) and then click the fan slats with the selection tool to float it. Defloat the selection (Ctrl + Shift + F). I perform these steps to obtain a nice, smooth anti-aliased selection.
31. Fill the fan slats with your color, pattern or gradient of choice. I used #cc3868.
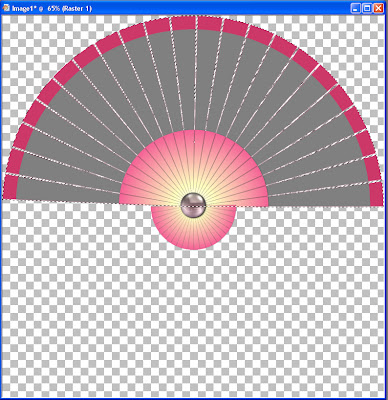
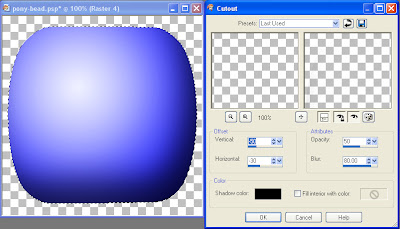
32. I floated the selection (Ctrl + F), then used the cutout effect to give my fan slats some depth.
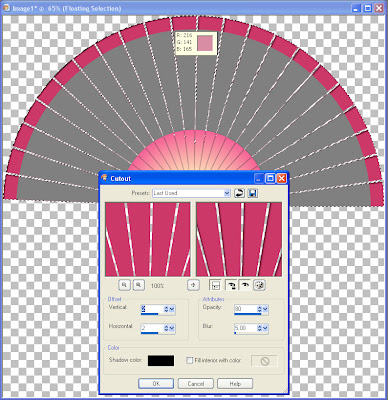
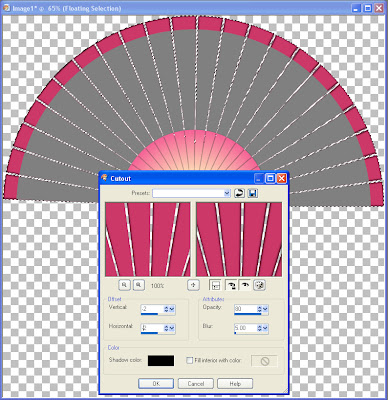
33. Select None (Ctrl + D) and then select the next layer up, the layer with the grey fan.
34. I loaded the selection from the alpha channel.
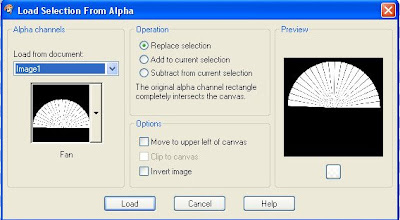
35. Fill the selection with a color, pattern or gradient of your choice. I used an image of cymbidium orchids which I have included in the
supplies zip.
36. I floated the selection and then applied the same cutout effect that I used on the fan slats layer.

The fan is now complete. For my final fan, I went back and added the cutout effect to my fan struts.


