
2. New LECA needs to be washed before use because there is clay dust which is bad for the orchid roots. I use a colander and run water over the pellets until the water is clear. Or, you can soak in a bucket. It takes about 3 exchanges of water to get rid of all the clay dust.
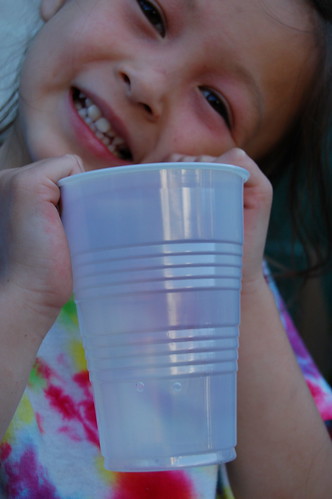
3. Get a container for the orchid. In this photo, I am using a 16oz plastic drinking cup. Drill or melt holes about 1 inch from the bottom of the container. The holes should be about 1/8-1/4 in. in diameter. There should 2-3 holes. I melt my holes with a hot nail headed on my gas stove. This is not ideal as I inhale plastic volatiles when the cup melts, but I try to hold my breath while melting. It will work better when I get a functional fume hood.
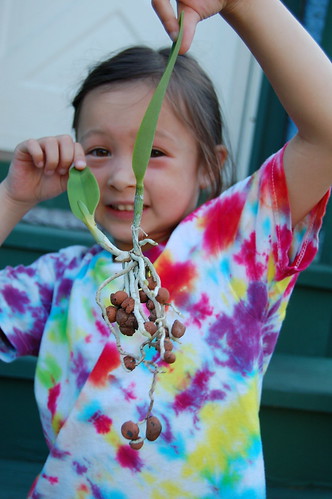
2. Make sure the orchid roots are clean and remove any bark or moss from the roots. Remove any dead roots. In this photo, the orchid was previously in S/H, so the cleaning has already been done.
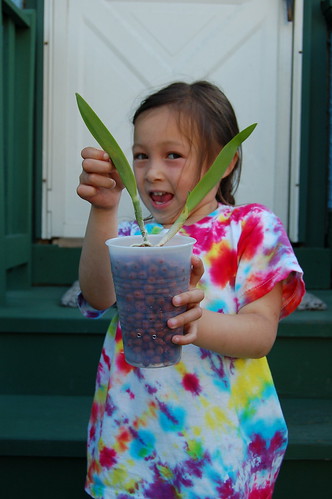
3. Place the orchid in the container so that the base of the pseudobulb will be about 1/2 - 1 inch below the lip of the container.
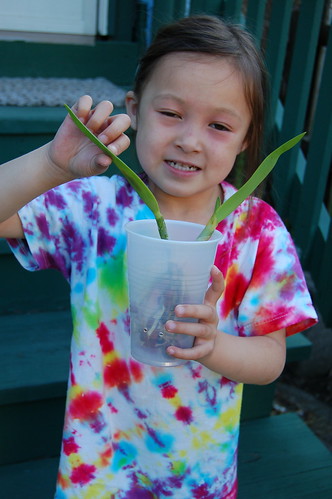
4. Fill the container with the clean LECA.
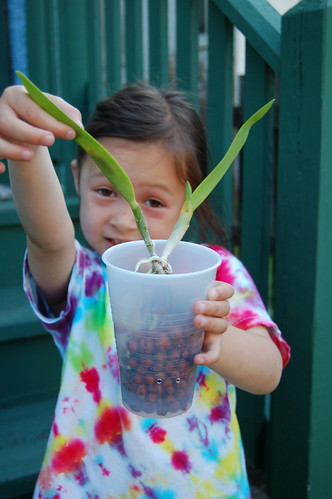
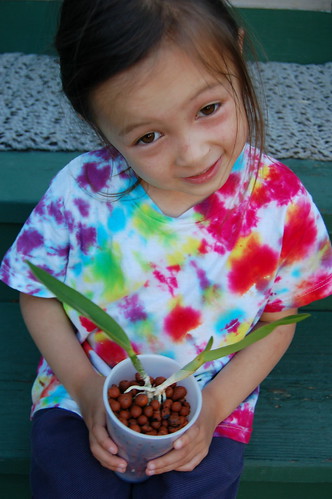
Here is a view of the container from the top after it has been filled.
5. Fill the container to the top with water and let it drain out. The orchid has been potted and I water once a week afterwards.