
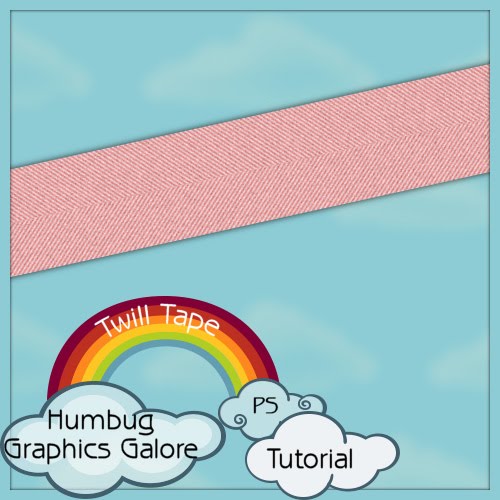
This tutorial will show you how a make a twill tape (or ribbon) in Photoshop.
1. Open up a new canvas the width of your desired tape. Make the height the same as the width. My canvas is 3600 x 3600 because my final twill tape will be 3600 pixels wide.

2. Fill the canvas with a color of your choice.
3. Select the Halftone Pattern filter (Filter > Sketch > Halftone Pattern) not the Halftone filter in the Filter menu.

4. Change the size to make the pattern more or less obvious. Increase the contrast to sharpen the lines.

Size = 2
Contrast = 20
Pattern Type = Line
5. Go to the Image menu and select Arbitrary for Rotate Canvas.

6. Select 45-60 degrees as your angle of rotation. Choose CW for clockwise.

CW = Checked
7. Select the bottom half the canvas with the rectangular marquee tool.

8. Flip the selection horizontally.

9. Ctrl + D to de-select.
10. Reduce the size of the canvas (Alt + Ctrl + C) to your desired width and reduce the height to 300 pixels.

Height = 300
Anchor = Center
11. To give the tape some texture, add 15% noise (Filter > Noise > Add Noise).

Distribution = Gaussian
Monochromatic = Checked
The twill tape is now complete.
Just a quick note to let you know that a link to this post will be placed on CraftCrave today [12 Jul 12:00pm GMT]. Thanks, Maria
ReplyDeleteTHANK YOU THANK YOU THANK YOU!! Great tut!
ReplyDeleteA very useful tut.
ReplyDeleteThank you so much.
Maja