
Supplies:
Balls and Bubbles preset (goes into your Presets folder)
Perform steps 1-4 of the Rainbow Fish Batik Paper tutorial as listed below and name the layer Rainbow:
1. Open a new canvas for a 3600 x 3600 paper.
2. Select the rainbow gradient that comes with Paint Shop Pro and fill the canvas.
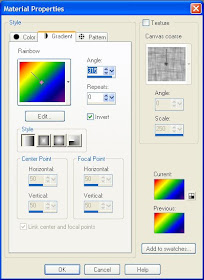 Angle = 315
Style = Linear
Invert = Checked
Texture = Unchecked
3. Use the Wave deformation (Effects > Distortion Effects > Wave) to streak the paper.
 Horizontal displacement
Amplitude = 0
Wavelength = 10
Vertical displacement
Amplitude = 4
Wavelength = 10
Edge mode = Repeat
4. Gaussian blur to soften the waves.
 Radius = 50.00
5. Create a new layer and name it Satin.
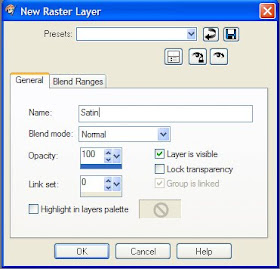
6. Go to the Balls and Bubbles effect (Effects > Artistic Effects > Balls and Bubbles) and load the HGG_satin preset.

7. Apply the Hot Wax effect (Effects > Artistic Effects > Hot Wax Coating).
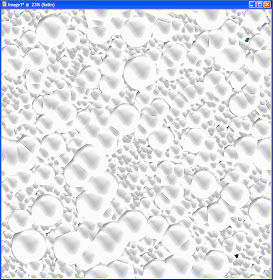
8. Apply the Hot Wax effect a second time.
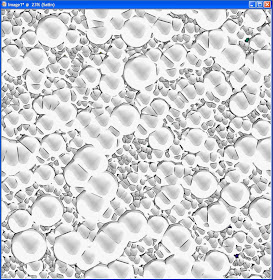
9. Gaussian Blur (Adjust > Blur > Gaussian Blur) with a 25 radius.
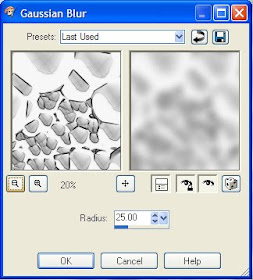 Radius = 25.00
10. Use the Wave deformation (Effects > Distortion Effects > Wave) to create the ripples for the satin.
 Horizontal displacement
Amplitude = 0
Wavelength = 10
Vertical displacement
Amplitude = 7
Wavelength = 20
Edge mode = Wrap
11. The ripples are bit too regular. By applying the Deformation Map (Effects > Distortion Effects > Deformation Map), we can make it look more like randomly rippled satin fabric.
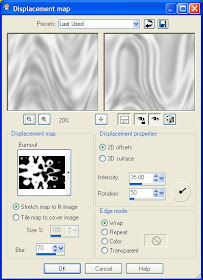 Displacement Map = Burnout
Stretch map to fit image = Checked
Blur = 70
2D Surface = Checked
Intensity = 35.00
Rotation = 50
Edge mode = Wrap
12. Move the Rainbow layer on top of the Satin layer.
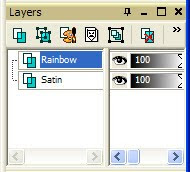
13. Change the properties of the Rainbow layer so that the blend mode is now Multiply.
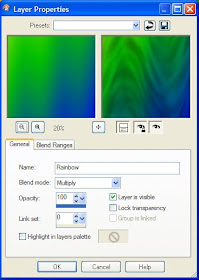
The rainbow satin paper is now complete. I have included the paper that I made for the tut in the supplies zip if anyone wants to use it.

Thank you so much for this Freebie. I want to let you know that I posted a link to your blog in Creative Busy Hands Scrapbook Freebies Search List, under the Page 4 post on Aug. 23, 2009. Thanks again.
ReplyDeleteHi i just wanted to say thank you for this gret tut on satin papers, i have been dying to learn how to make satin and your tut was great and easy to follow.
ReplyDeleteGreat job on all your work,
Hugs INURDRAEMZ