
1. Open a new image the size of your desired teardrop. Select Vector Background under Image Characteristics to start off with a vector layer.

2. Select the Ellipse Tool.

3. Set the foreground to transparent and the background to the desired color of your teardrop.

4. Draw out an perpendicular oval. Show Nodes should be checked.

Show Nodes = Checked
5. Select the Pen tool.
6. Right-click on the oval and select Convert to Path.

7. Right-click on the node at the top of the oval. Go to Node Type and select Line Before.
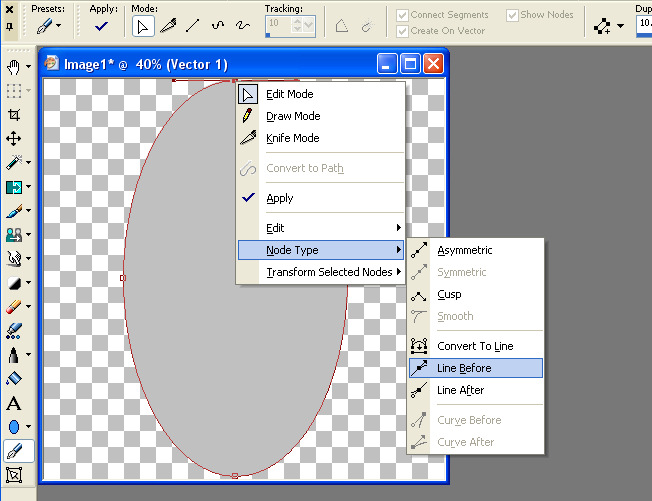
8. Right-click on the node at the top of the oval a second time. Go to Node Type and select Line After. The point of the teardrop has now been created.

9. Left-click the node on the left side of the oval and drag it down toward the bottom of the image.

10. Left-click the node on the right side of the oval and drag it down toward the bottom of the image. The teardrop is now complete.

Just a quick note to let you know that a link to this post will be placed on CraftCrave today [30 Jul 12:00pm GMT]. Thanks, Maria
ReplyDelete