
1. Open a new canvas 3600 wide by 300 high.
2. Fill the canvas with a color of your choice (I used #7996bd).
3. Apply the halftone effect, choosing an ink color that is a dark shade of your original color (I used #2c3c5e). To make broader stripes, increase the size. Use only even numbers.
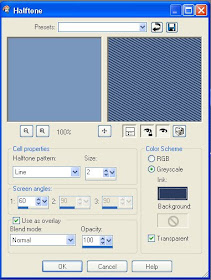 Halftone pattern = Line
Size = 2
Screen angles = 60
Use as overlay = Checked
Blend mode = Normal
Opacity = 100
Color Scheme = Greyscale
Ink = #2c3c5e
Transparent = Checked
4. Go to the selection tool and make a custom selection.
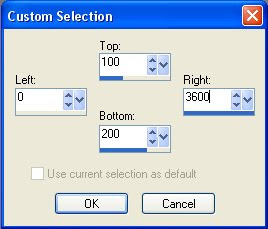 Left = 0
Right = 3600
Top = 100
Bottom = 200
5. Ctrl + I to flip the selection.

6. Select None (Ctrl + D).
7. Add 45% uniform noise to give the pattern some texture (Adjust > Add/Remove Noise > Add Noise).

Uniform = Checked
Noise = 45
Monochrome = Checked
8. This is a a twill pattern. Credit for this pattern goes to Diz. It can be used as is for a ribbon, but we only need 2/3rds of the twill to create the herringbone pattern. Make a new custom selection.
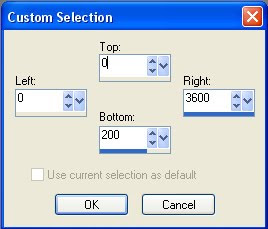 Left = 0
Right = 3600
Top = 0
Bottom = 200
9. Open a new canvas 3600 x 3600.
10. Go to the materials palette and choose the twill pattern. Adjust the angle to 325.

11. Select the fill bucket and fill the new canvas with the pattern. The paper is now complete.
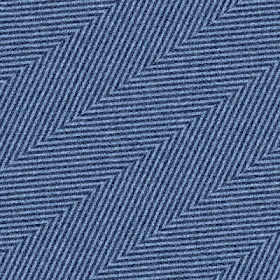
Here is a sample with the line size at 2.
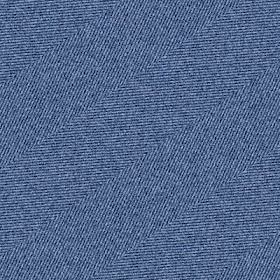
Here is a sample with the line size at 4.

Wow, this turned out awesome~!
ReplyDeletePaulette
Thank you, Paulette!
ReplyDeleteThat was so cool, thank you!
ReplyDelete