1. You need an image that you want to make. For the tutorial, I put labels on a blog header that I had personalized. The original header is a free one from Lena.
2. Go to the Image Mapper tool (File > Export > Image Mapper).
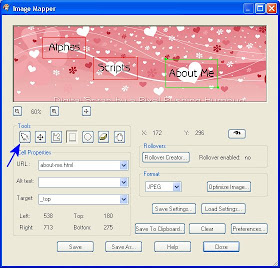
3. Find the area on the map that you want to turn into a clickable space by using the Pan tool. The pan tool is the cross hairs next to the magnifying glasses and the hand on the right-side of the Tools list. Both of these tools perform the same function. They allow you to move around the image if it is too big to be seen entirely in the window. The cross hairs had the advantage of providing a rectangular box to show you the size of the window.
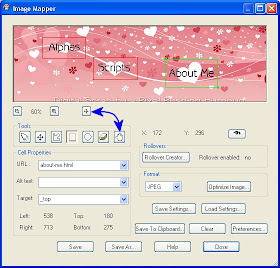
3. After you find your location, use the polygon, circle or rectangle tools to make boxes around the areas where you want people to click.
Polygon Tool
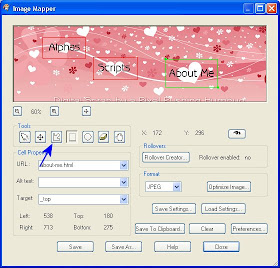
Rectangle Tool
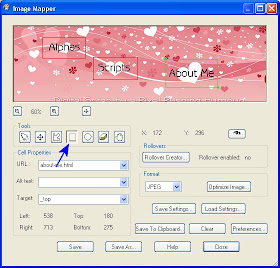
Circle Tool
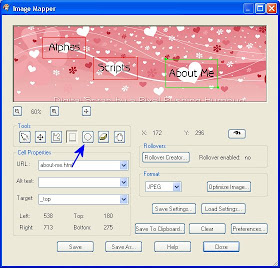
I used the rectangle tool to make all my shapes. It works just like the selection tool. I click and drag to make my rectangle.
4. If you make a mistake, then click on the eraser tool, then click on the shape to delete it.
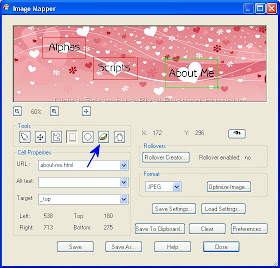
5. If you don't like where a shape is located, then click on the mover tool and then click on the shape. Now holding the left-mouse button down, you can drag the shape around and re-position it.
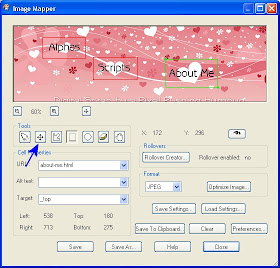
5. Once you have made your shapes, you need to write in the links. Click the arrow tool and then a shape to make it the active shape. The active shape is colored green. Inactive shapes are red.
 I put the link (about-me.html) into URL and I added the _top target so that the person would be taken to the top of the page. Do this for each shape by first clicking on the shape while the arrow tool is active, then typing the link into the URL box.
6. Select the format you want to save the image. I chose JPEG.
7. Click Save.
8. PSP will ask you for a file name for saving the html code. I chose index.html. After you hit return, it will ask you for a file name for saving the image. My code looks like this:
<html>
<head>
<meta name="Author" content="">
<meta name="Generator" content="Paint Shop Pro 9">
<title> </title>
</head>
<body>
<img name="valmap0" src="val-map.jpg" width="950" height="426" border="0" usemap="#val-map" alt="" />
<map name="val-map">
<area shape="rect" coords="128,108,273,178" href="alphas.html" target="_top" alt="">
<area shape="rect" coords="297,173,445,250" href="scripts.html" target="_top" alt="">
<area shape="rect" coords="538,180,713,275" href="about-me.html" target="_top" alt="">
</map>
</body>
</html>
9. I copied the section between the <body> tags and pasted it into the html of the page where I want the imagemap to be located. The <img> information goes with the image depending on its location. The most important part is the usemap value. This tells the code where to go look for the map information. The map and area information can be place anywhere.
That is it for making an image map.

Thank you! Your blog post will be shared on the
ReplyDeleteCU Freebies Only Forum Friday May 8th 2009!
in this topic
Tutorials Your Place to find Commercial Use Scrap Booking Freebies!
Thanks For Sharing your Time and Talent with us!